Living Room Transformation with Armstrong Ceilings Easy Up System – Shiplap Ceiling
This Post is Sponsored by Armstrong Ceilings – All thoughts are my own
There’s one thing that’s often overlooked in a room but can make a HUGE impact—the ceiling! Today, we’re excited to share the transformation of Mom’s living room with her new Woodhaven Plank Ceilings from Armstrong.
Years ago, Mom and I attended an estate sale at a stunning home in Dallas. When we walked into the living room, we were captivated by the glorious shiplap ceiling. Ever since that day, Mom has been talking about replicating it in her own living room. I discovered Armstrong Ceilings and immediately knew this was the solution to make her dreams come true.
Armstrong Ceilings is your one stop for ceiling ideas, beautiful ceiling and wall styles, and ceiling help for your home. Whether you’re searching for an easy method to install shiplap ceilings or looking to cover unsightly popcorn or drop ceilings, Armstrong offers stunning options to transform your room.
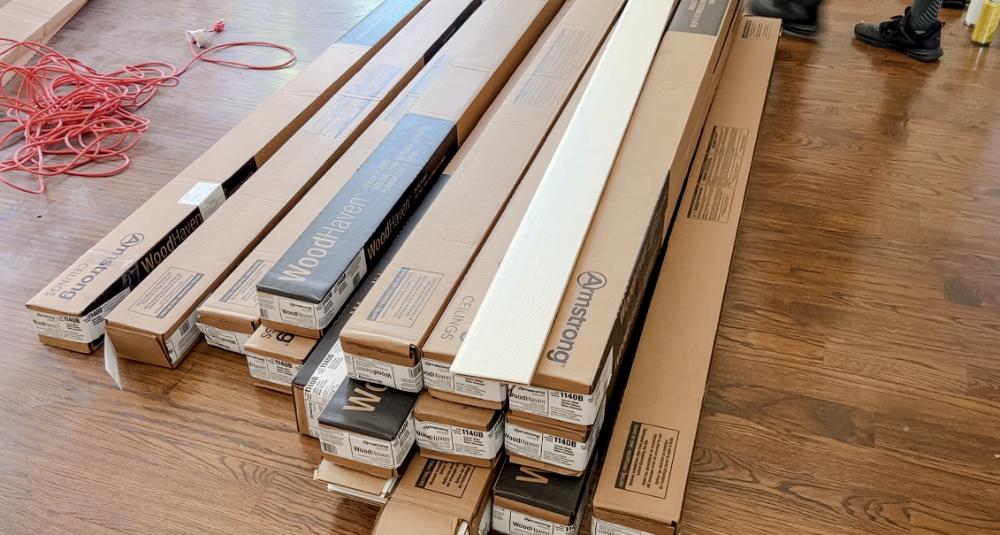
For this project, we used their white Wood Haven Planks for our shiplap ceiling. They have several color options below and honestly, any color would look great in a living room!

WHY WOULD YOU USE THE EASY UP SYSTEM?
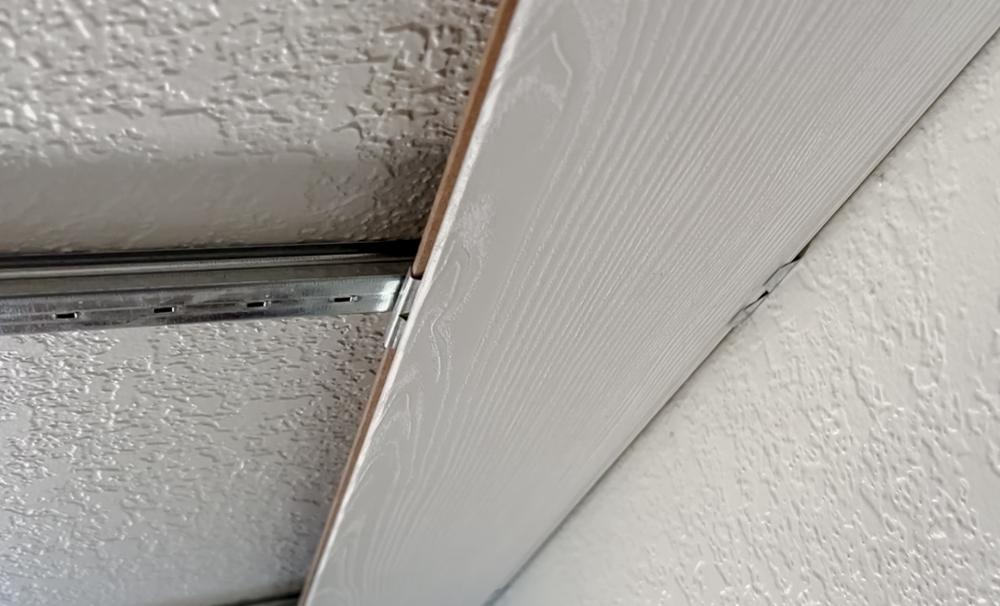
In this space, we opted for the Easy Up System! Installing shiplap on the ceiling can be a tedious task that involves finding a stud for every board and messy glue for adhering each board. However, with the Easy Up system, it becomes much simpler. The system includes tracks that are installed onto the joists in the ceiling, and then you can easily install each plank using clips.
IS THIS DIY FRIENDLY?
Yes! We did recruit friends for mom’s living room because it’s a very large space but I installed it on my laundry room ceiling and it was so easy!
The part that was more complex for mom’s ceiling was that it is a angled tray ceiling. The Easy Up tracks cannot be installed on a slope greater than 10°. We used furring strips to install the planks to this area. While this installation was not super challenging, it was MUCH easier to install with the Easy Up system.
SUPPLIES/TOOLS NEEDED
- Tape Measure
- Stud Finder
- Chalk Line
- Utility Knife
- Drill
- Drywall Screws
- Hammer
- Level
- Jig Saw
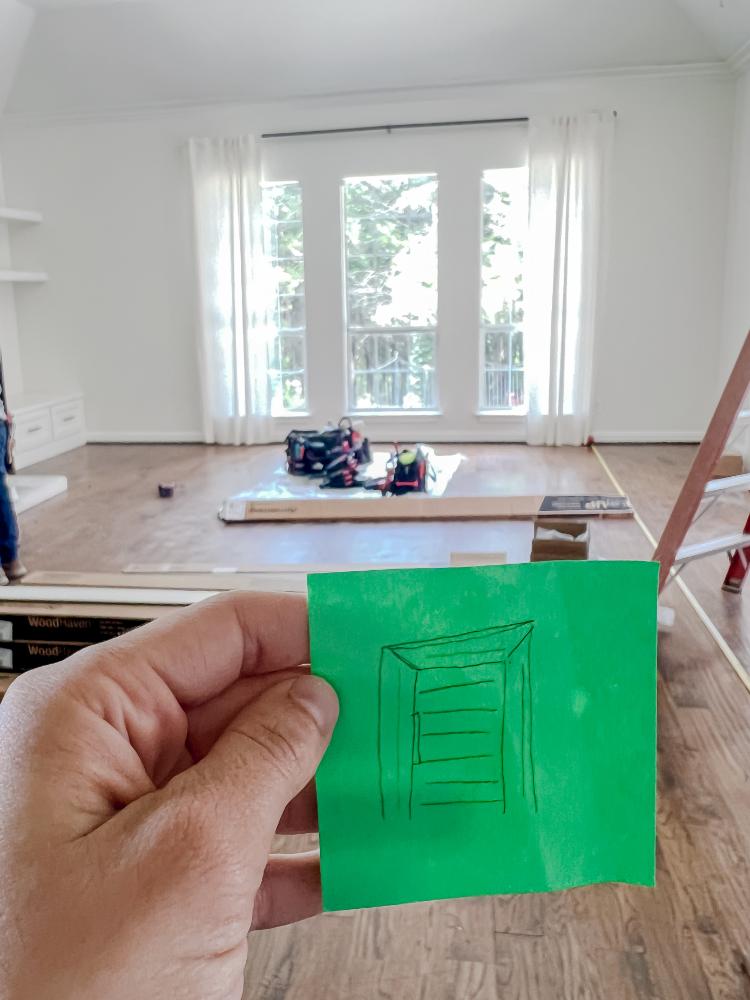
Step 1: Decide Your Layout
In most cases, this is actually quite straightforward; it’s easiest to run your planks in the same direction as the joists. However, since Mom’s living room features tray ceilings, we had to determine how to handle the sloped area of the ceilings. I used a Post-it note to sketch out our plan.
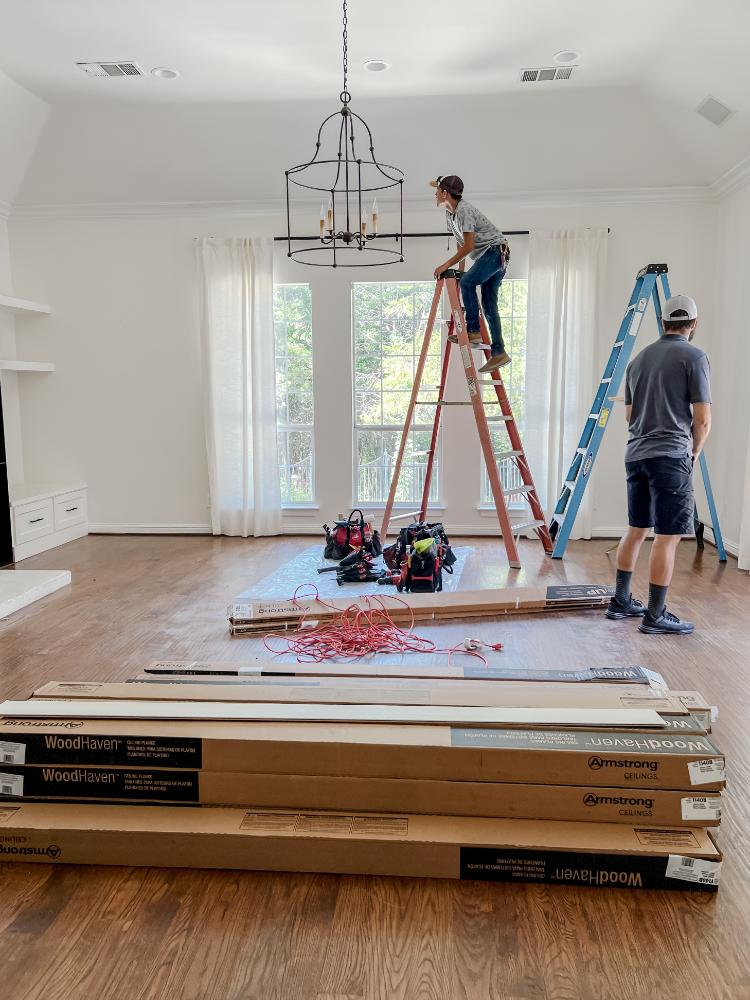
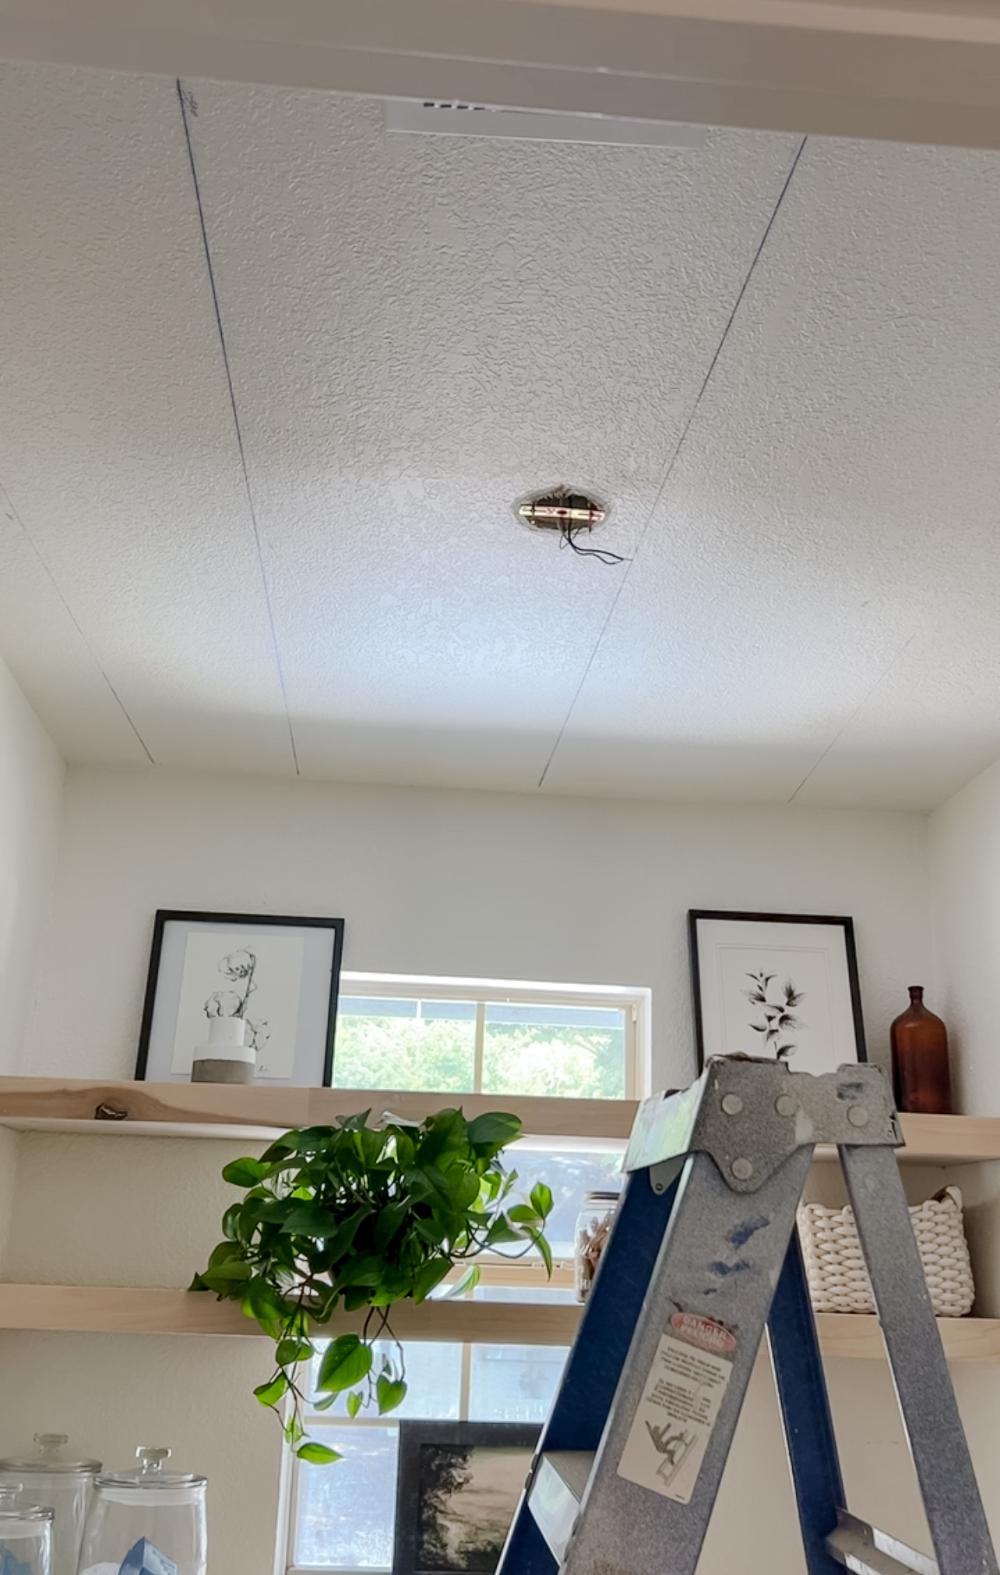
Step 2: Use a Stud Finder to Mark the Joists
I marked the joist with a chalk line. I didn’t know which direction the joist ran so I peaked in my attic to see making it a little easier to find them.
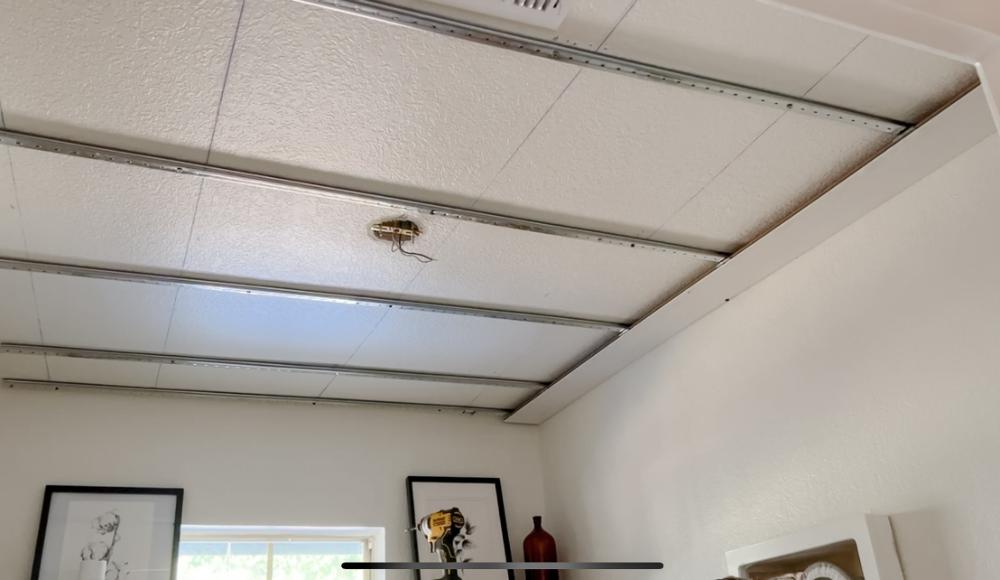
Step 3: Install the Tracks Perpendicular to the Ceiling Joists
The ceiling track installation took about 1.5 hour in mom’s living room and maybe 10 minutes in the laundry room. It was very easy and the directions on Armstrong’s website are so clear.

Step 4: Install Clips and First Plank
The first plank involves a little extra work because you have to screw it to the ceiling so the rest of the planks stay in place and don’t shift around. Using a level, ensure the first plank is straight, and add screws directly through the plank and into the track and joists. This extra step locks the plank in as an anchor so all your other planks will be straight too.
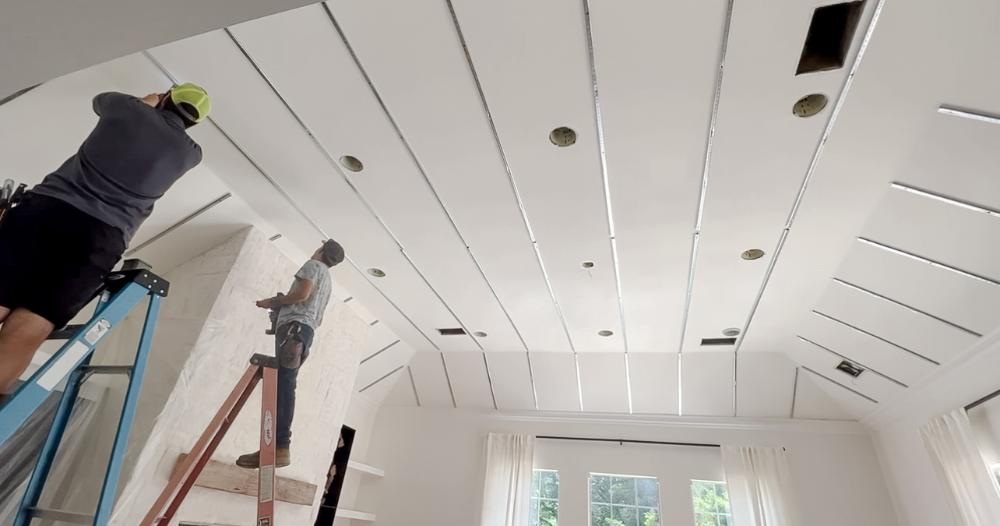
Step 5: Install Remaining Planks
Attach the clips onto the tracks and insert them firmly into the groove of the initial plank. Now, you can proceed to introduce the subsequent plank. Just press it into the slot of the adjoining plank on the ceiling, and then slide additional clips to secure it in position. This process resembles solving a large puzzle, with all the components seamlessly interlocking.
Step 6: Cut Holes for Lights/Air Vents/Etc
The process of cutting out the holes for the lights and air vents is a little time consuming so depending on how many you have, the installation may be quicker.
I used a jig saw to cut the holes but you can also use a utility knife and hand saw blade to cut the holes.
Step 7: Add Trim If Desired
In mom’s living room we decided to install faux beams and crown moulding and in my laundry room I decided to install crown moulding.

Step 8: ENJOY!


My Honest Opinion Of Armstrong Ceilings Woodhaven Collection
I LOVE IT! This made a way bigger impact that I thought it would in this room. I knew millwork adds so much character but here it blew my expectations out of the water. Also the fact that the product is easy to install and durable is so great!
I definitely recommend this product to anyone looking to transform their ceiling. If you have popcorn ceilings or a drop ceiling this is a great option for you!
Find Out More About Armstrong Ceilings
For the full product catalog, project cost estimators, and information on where to buy all the components of the Armstrong Woodhaven collection, visit their website here. You can find all kinds of inspiration, tutorials, and tips for transforming a room in your house and hiding the popcorn without the mess. You can also see the full installation process of the ceiling here on our YouTube channel.