

Stripping Wood with Oven Cleaner – Easy Off Mirror Makeover
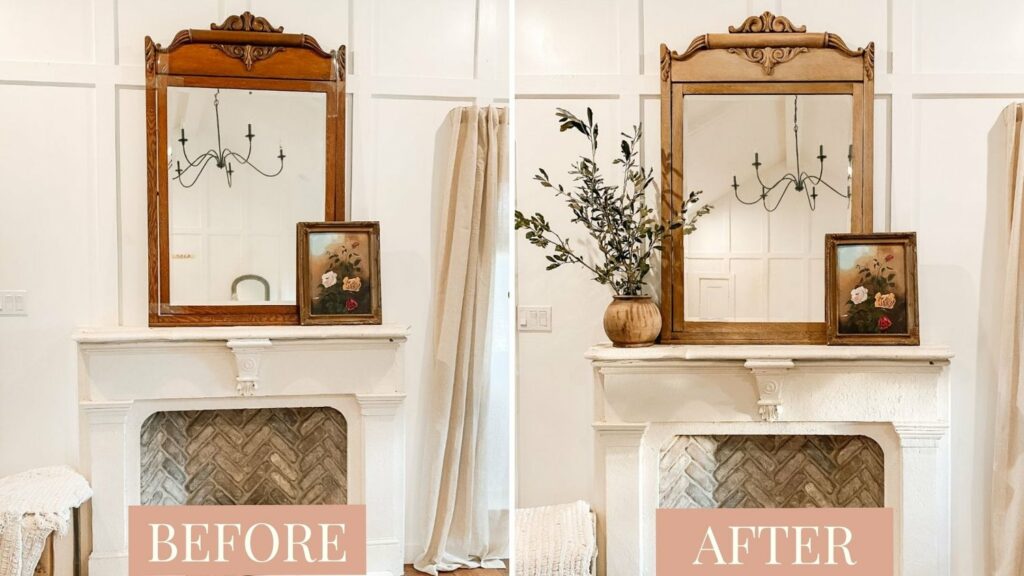
If you’ve been on Instagram or Tik Tok you have seen the Easy-Off method to stripping furniture. This is a really quick and easy project if you want a fresh finish on a wood piece. I love how this mirror turned out!
SUPPLIES
- A Wood Piece to Refinish
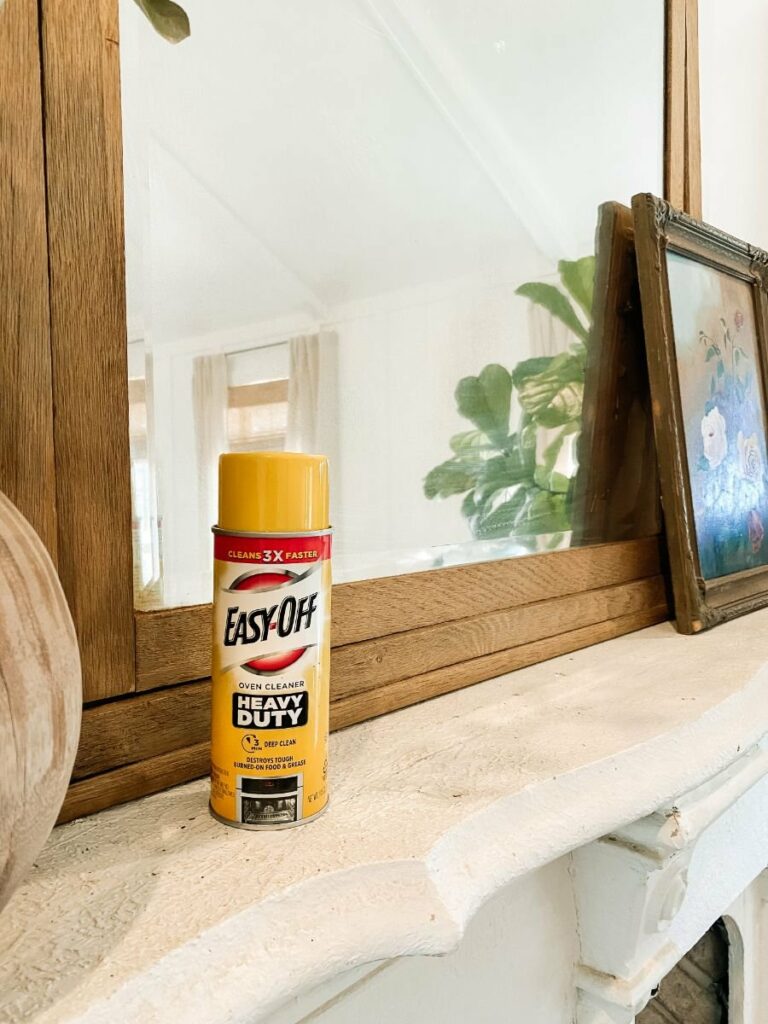
SHOULD I USE THE BLUE OR YELLOW CAN OF EASY OFF?
I used yellow, but as I was taking this project on I shared on Instagram stories the process and I received many messages that the blue can is more effective. The yellow worked for me but I plan on trying the blue can in the future. Locally I could not find the blue can and I was ready to take on the project.
WHAT TYPE OF PIECE SHOULD I DO THIS ON?
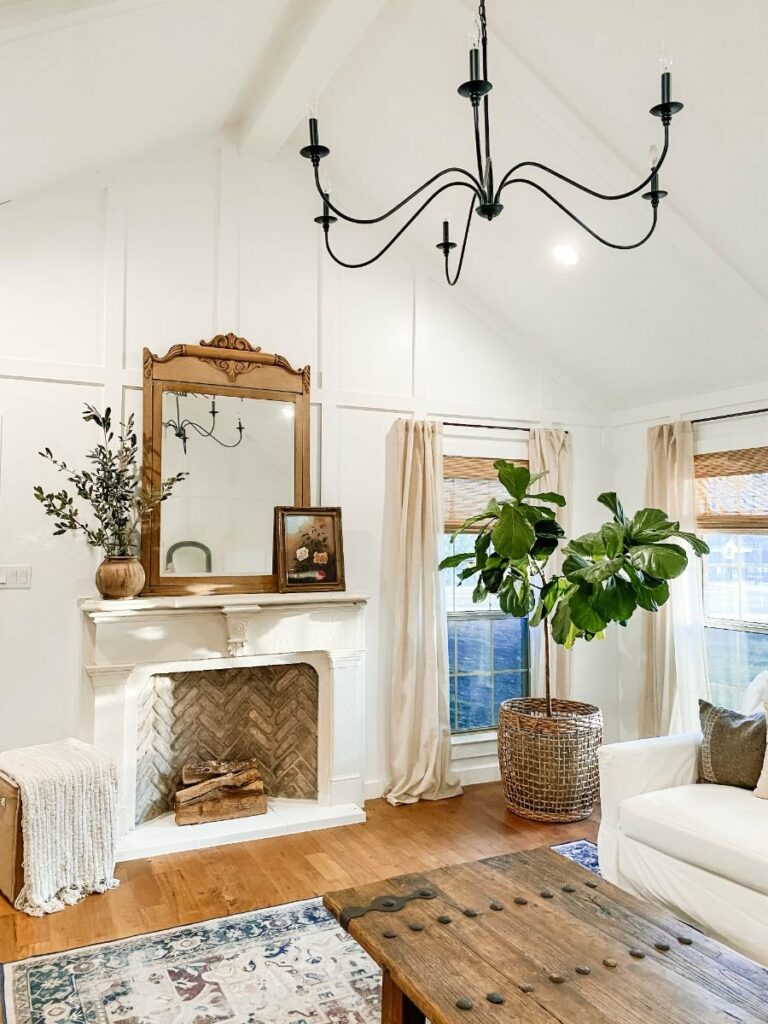
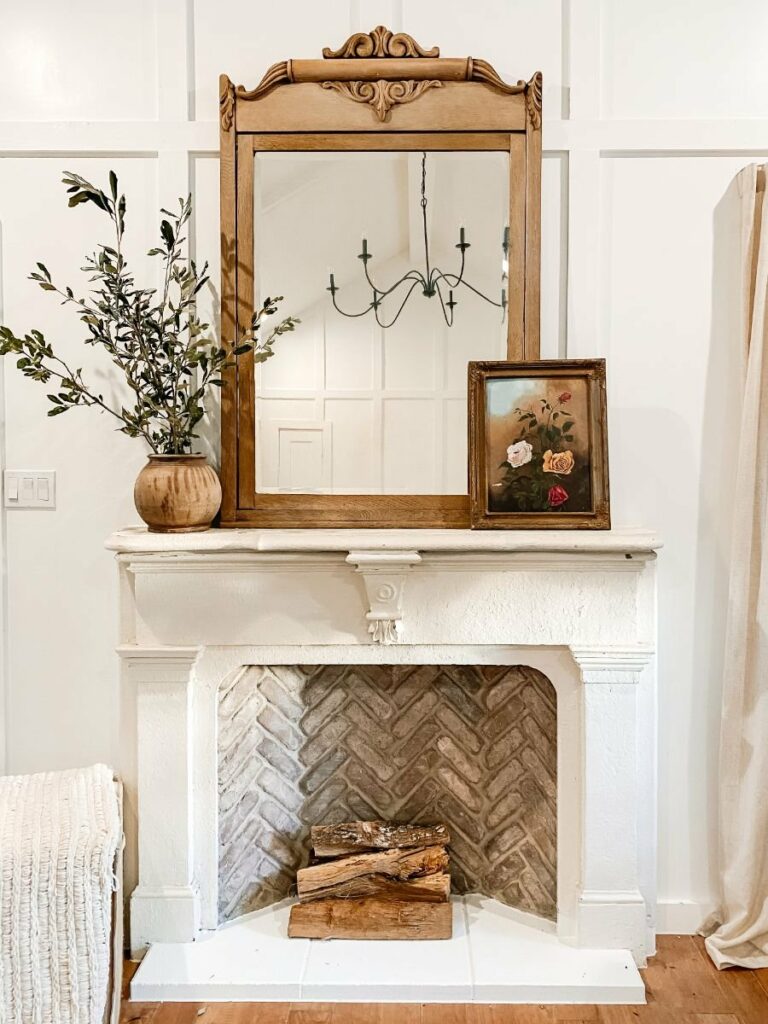
I think a smaller piece like this mirror was the perfect type of piece to do this project on. I found this piece at a local estate sale really affordable so it was worth the risk if it didn’t turn out! Stripping a piece with these ornate details would be a huge challenge so if you have a piece with more embellishments I think Easy-Off is a great route.
I used TWO cans of Easy-Off for this mirror. I could see it taking more than five cans for a small dresser. I’ve had many people suggest Liming Wax or Wise Owl’s GreenEZ Furniture Strip & Clean for larger projects. I haven’t used either yet but I plan on trying in the future. I’d love to hear in the comments if you have feedback here.
DOES THIS WORK ON PAINTED FURNITURE OR ONLY STAINED FURNITURE?
I honestly don’t know, but maybe we should try! I’ve really only seen this method done on stained furniture, but people have shared in comments that it removes paint if you let it sit longer.

STEP 1
Spray a heavy coat of Easy-Off and let it sit for 30 minutes. I taped off the mirror to protect the glass, but other than that this was the only prep involved in this project.
STEP 2
Rinse off! I used a dish brush with a little dawn soap and water to remove the stain and the easy off. I also went behind with a rag to make sure I was removing as much as I could. Some people use a hose to rinse it off especially with larger pieces. I didn’t want to damage the mirror backing so I chose not to do that.
STEP 3
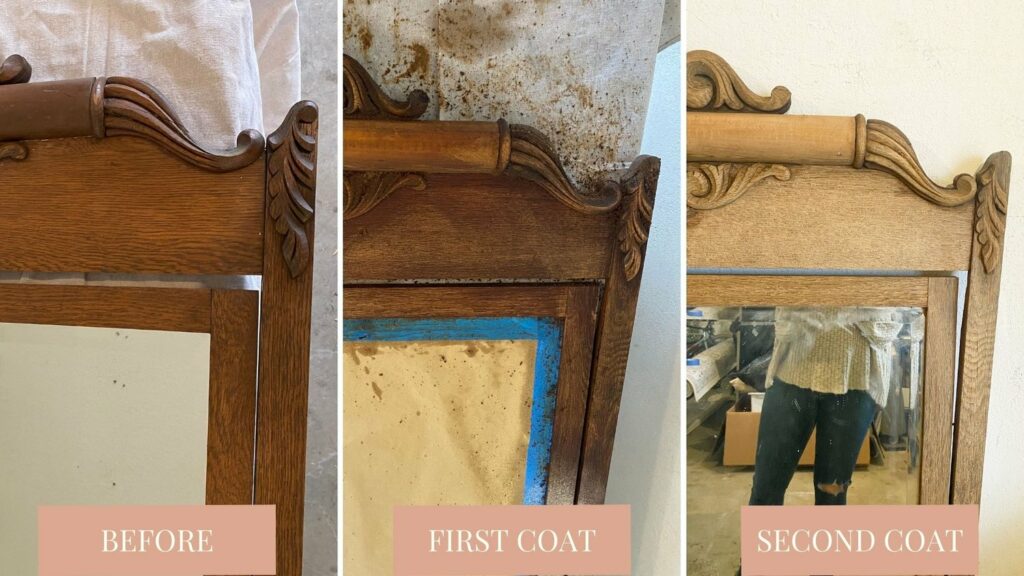
Then repeat! I chose to do a second coat. As you can see in the photo above the second coat made a HUGE difference.
STEP 4
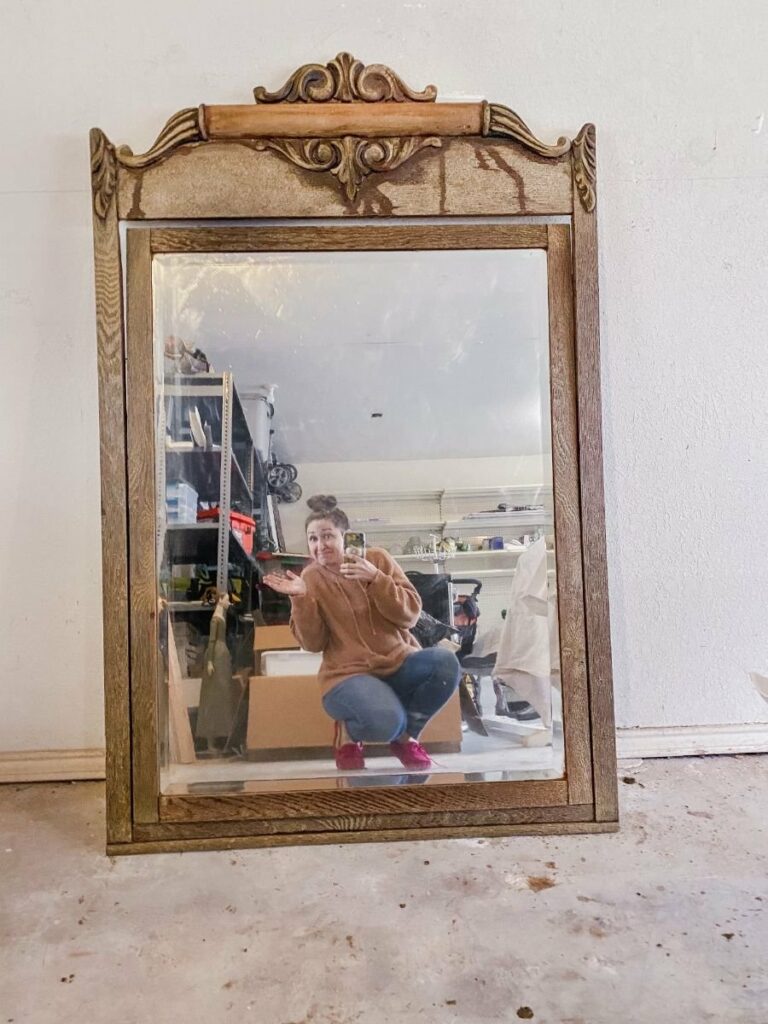
Let dry. I really couldn’t tell how light it was going to be until it had fully dried. You can see in the picture below that the wet wood looked like a failed project even after all the Easy-Off was washed off. I let it dry overnight and woke up to a stunning made-over mirror.
SHOULD I SEAL THE PIECE?
I think a wax would be a great seal for a project like this to keep the aged look, but also protect the wood. You could also use a matte varnish like I used when I painted my kitchen cabinets.
FINAL NOTES ON THE PROJECT
I can definitely see myself using the Easy-Off method to strip wood again especially on smaller pieces. What I loved most was that sheen was removed creating an aged look. This mirror was very glossy and looked a little too formal in my house.
I have never enjoyed stripping furniture and found that it’s a huge challenge with more detailed ornate pieces, but this was SO EASY even with the embellishments at the top of the mirror. This is a great quick afternoon project!
I’d love to hear about your experience if you take on this project! We love to chat in the comments. It helps others as they DIY and create a home they love.
Love how your mirror turned out and it’s good to know the yellow can works too! I’m totally inspired and am going to use this method to strip a mirror similar to yours. I love your channel and look forward to your uploads each week. Keep them coming!
So pretty!!! I want to do this to a dining table!!!