
Pantry Organization Ideas that Will KEEP Your Pantry Organized
It’s spring cleaning season and we have kicked it off with a little decluttering. Today we’re sharing how we spruced up the pantry and how we plan to KEEP it organized.
PANTRY BEFORE
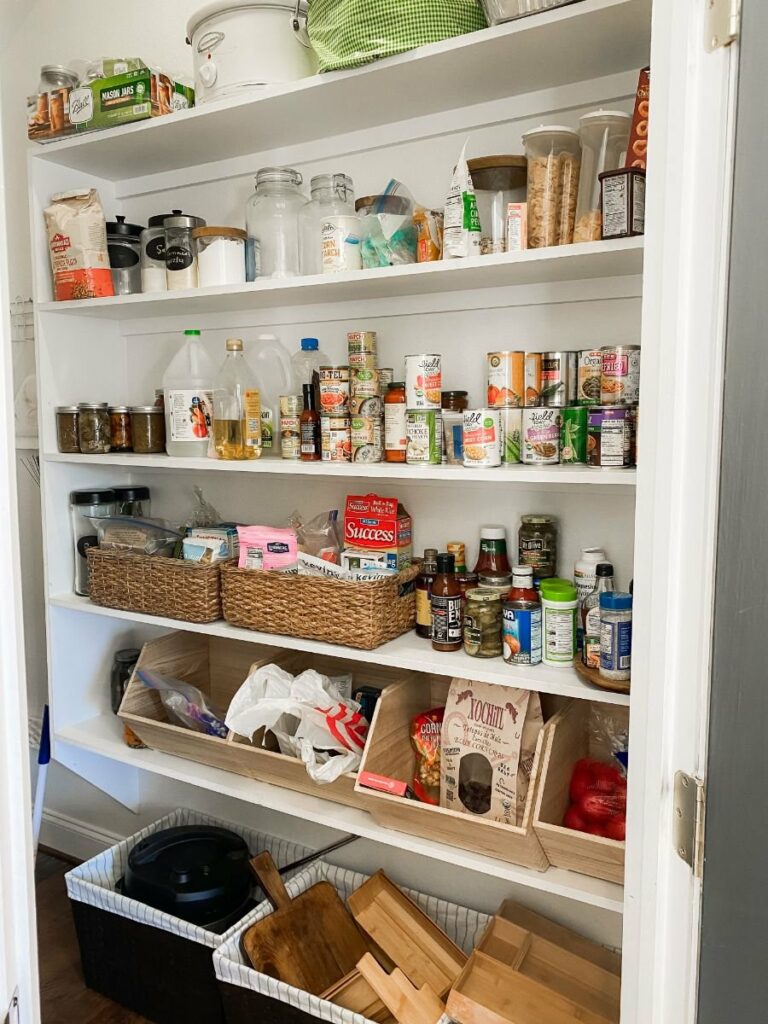
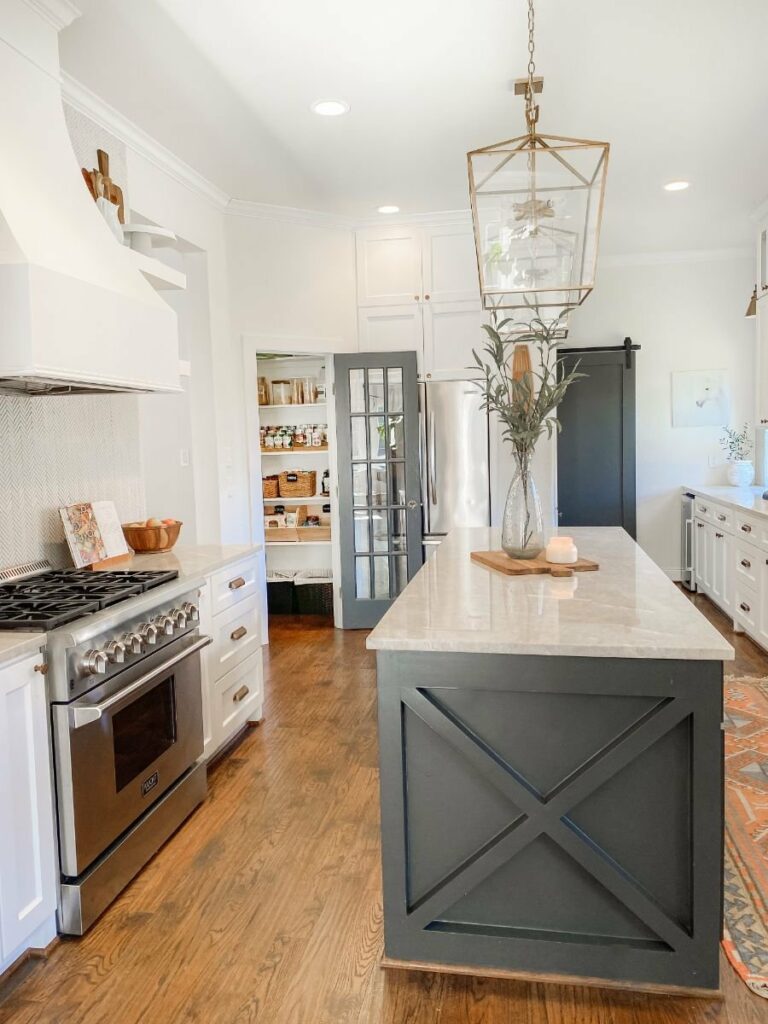
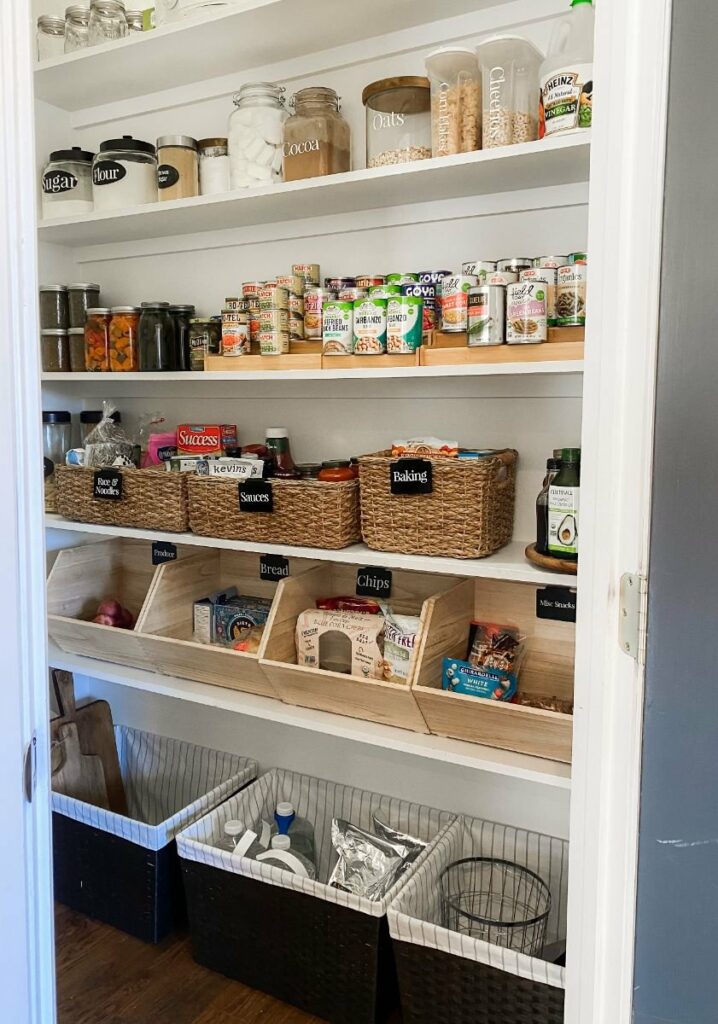
I chose to have a glass pantry door painted Sherwin Williams Iron Ore. I love the look, but this does require an organized pantry. The pantry was somewhat organized by my Daughter in Love Amanda, but we really needed to give it a spring cleaning and add a few measures to KEEP it organized. We started by emptying the pantry onto the counter. We threw away any expired items and wiped the shelves down. Next, we loaded everything back in a way that made the most sense.
ORGANIZING TIP: We often hear that people are nervous to do something like a glass pantry door or an open shelf, but honestly, our experience with both has been great. They keep you accountable to put things in the right place and make sure you only keep what you’re actually using. I also appreciate the items displayed much more than if they were hidden behind a solid door. It doesn’t add any time to my plate but really gives me more time because I stop shoving things behind closed doors leaving messes as I go.
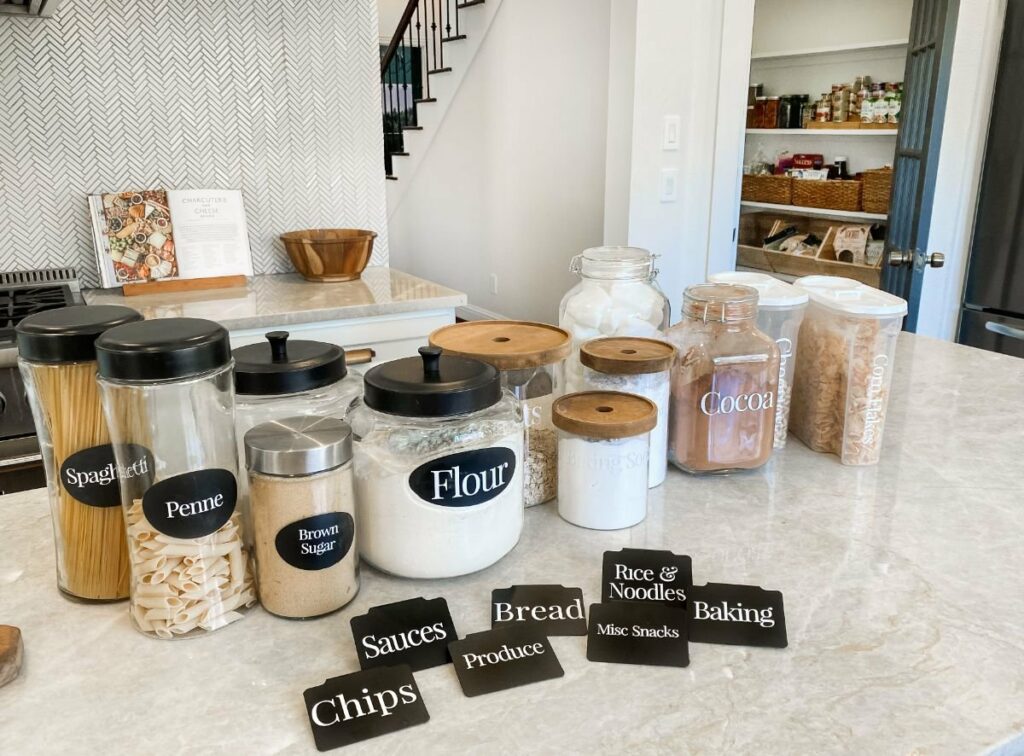
GLASS CONTAINERS
The top shelf was for baking items like flour, sugar, and such. I love moving items like these to glass containers rather than keeping them in their original packaging. I had collected various containers over time so they don’t all match, but it’s much more cost-effective to build a collection over time rather than going on one big run all at once. We found that using our Cricut to label the containers makes them look very cohesive despite them not being exactly the same. Labels really clean the look up and also help you know what you have. We used the font Playfair Display on ours with white removable vinyl.
CANNED ITEMS
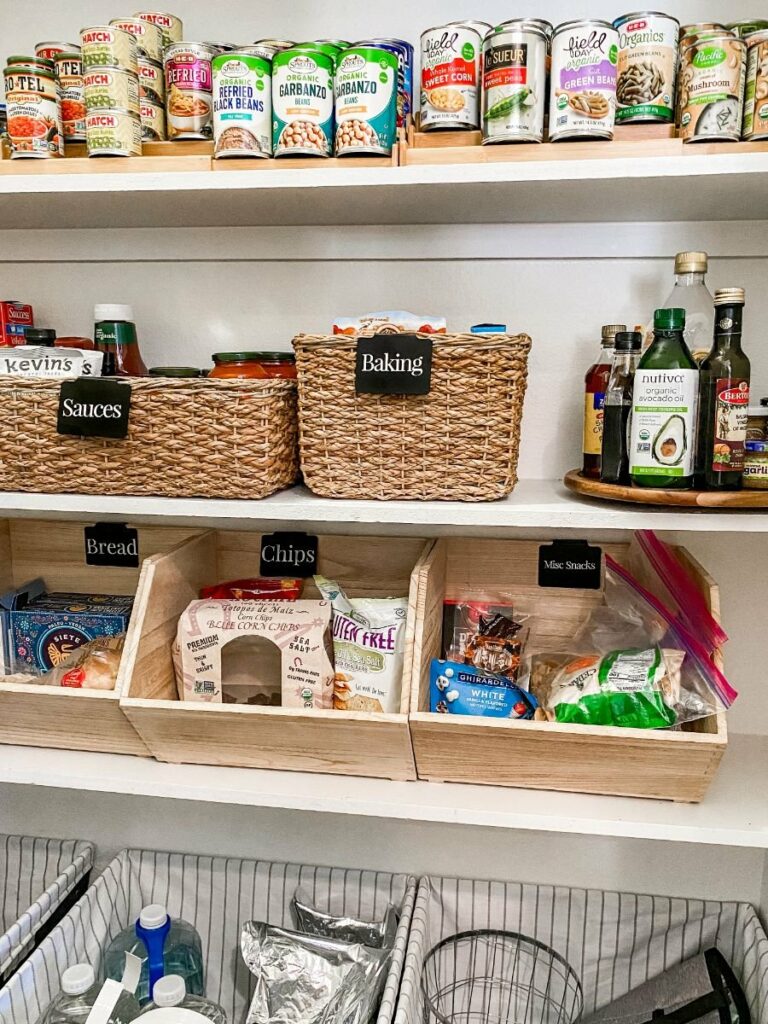
We added wood risers to give easy sight to our canned items. We found these risers at Walmart. I’ll be honest some of the cans are a pretty tight fit on the bottom row, but it looks great and made the most sense for our setup. If we had deeper shelves these are a great option for cans.
BASKETS/BINS
The third shelf had the can goods and baskets with rice and pasta, sauces, and mixes. We already had these things in baskets to give it an orderly and pretty look, but we added these Basket Labels Clips from Amazon. They come in a set of 32 and are just a little over $20. We used the same font and vinyl to label the clips so it ties the look all together and holds us accountable to putting things in the right place.
The bottom shelf was for dry goods. We used wooden bins we found at Target and placed the same label clips as the top baskets. These bins are great for snacks for kids and more grab-and-go items in a pantry.
SHOP THE PANTRY

I hope this post inspires you to organize your pantry or really any area in your home and keep it that way! Pretty spaces really are motivating stay clean and organized and I have a feeling that will be the case for this pantry. I’d love to know what you think about what we did here and if you have any tips we can borrow!