
How to Design a Room Start to Finish — Master Bedroom Reveal
If you’re like me then one of your goals for the new year is to finish a project or two in your home. It’s really easy to have lingering home projects and feel like a room is never really finished. This month I set out to finish my master bedroom and I thought it’d be fun to share my process on how to finish a room completely! Now, if you’re a formal designer this post is not for you. This is for your everyday home enthusiast that’s just looking for a process to finally feel like a project is finished.
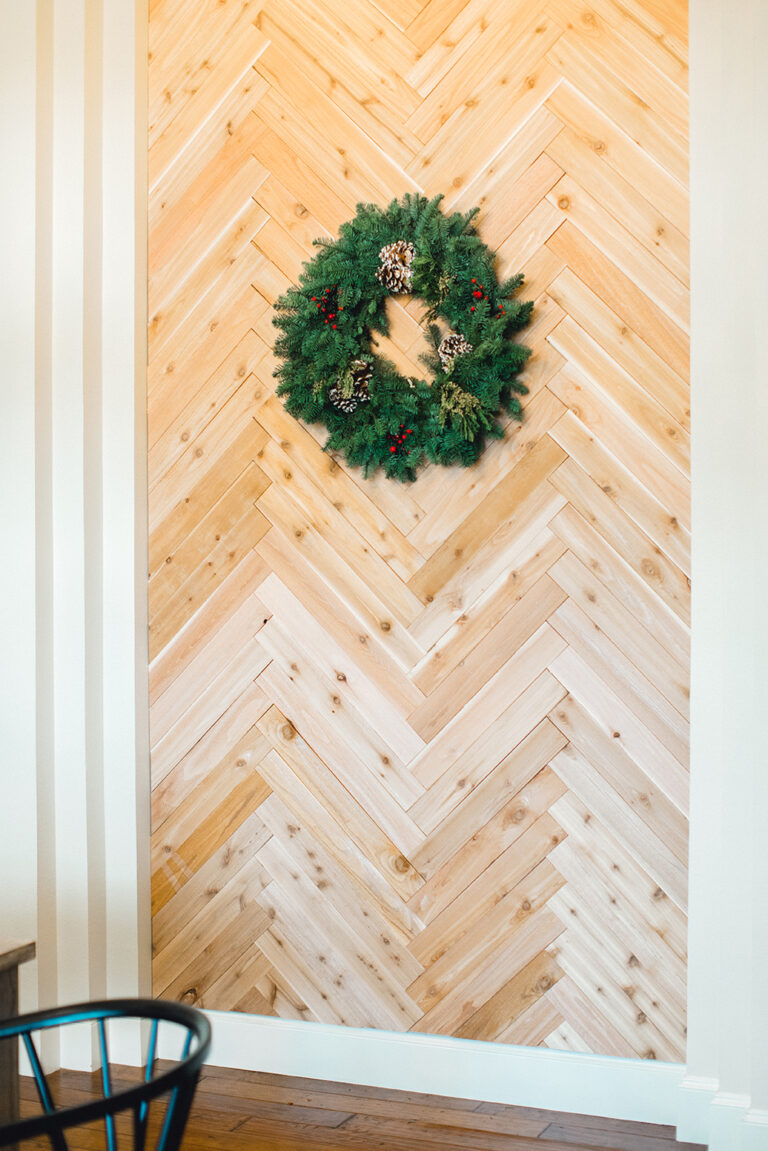
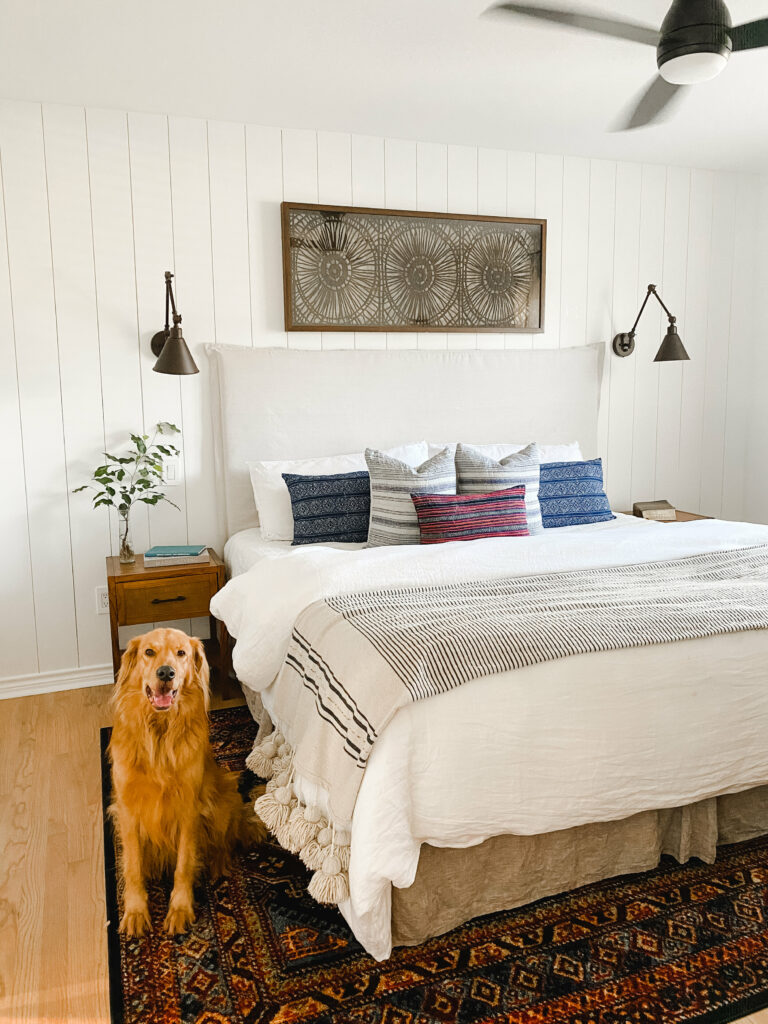
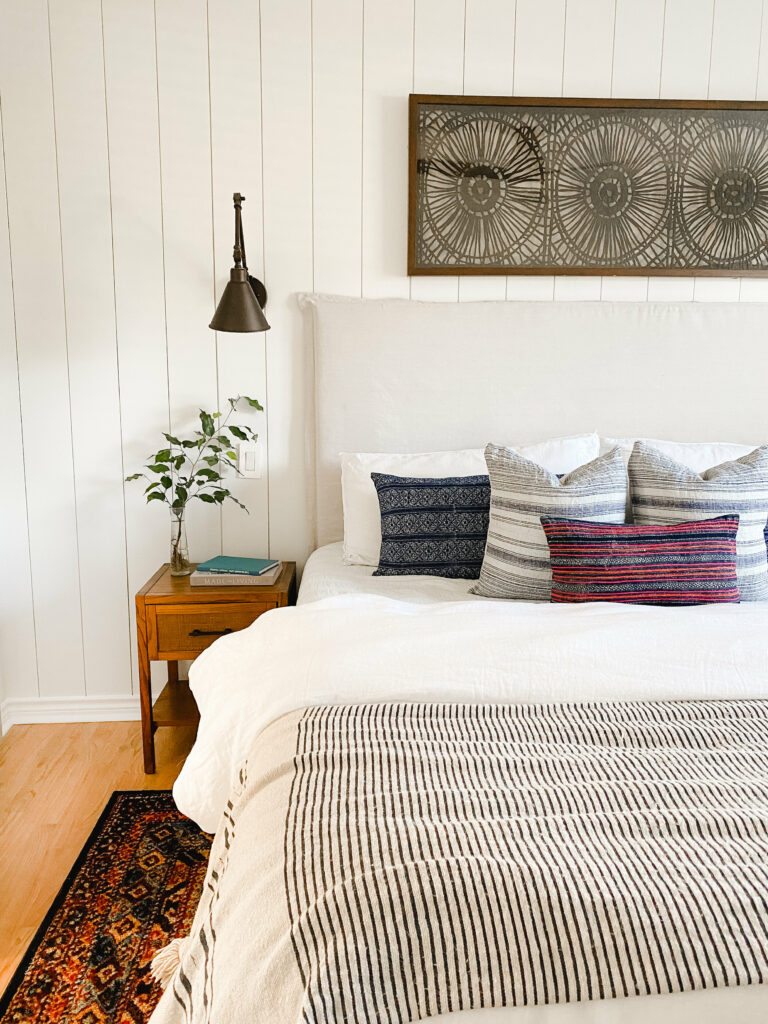
The cool thing about this room is that it was once my garage. When we bought the home it was only two rooms and we knew it needed a third, but there was really no way to add an addition that would flow with the current layout so a garage conversion was our best option. Sometimes when I walk into my room and think about that I can’t even imagine it. We had a really talented brick mason able to salvage brick from the patio to cover the garage door. Also, our hardwood guys were able to match the flooring in this room to the original hardwoods in the living room. Both of those elements made it look as if it’s always been. You can preview those details in the video along with the details on how to design your room.
✨FREE DESIGN BOARD DOWNLOADS BELOW ✨
Let’s get straight to designing! This is the process I use for myself and for client’s homes.
1. GATHER INSPIRATION
I like to start by simply making a Pinterest Board. I take my time pinning rooms I like. Try not to overthink this step. Sometimes I’ll work with clients and they get nervous about adding a pin they like because it’s not EXACTLY what you want or doesn’t look like their room. For example, many of the master bedrooms I pinned on my board were much bigger than mine so clearly, my room wasn’t going to turn out exactly like those, but I could still use them for inspiration.
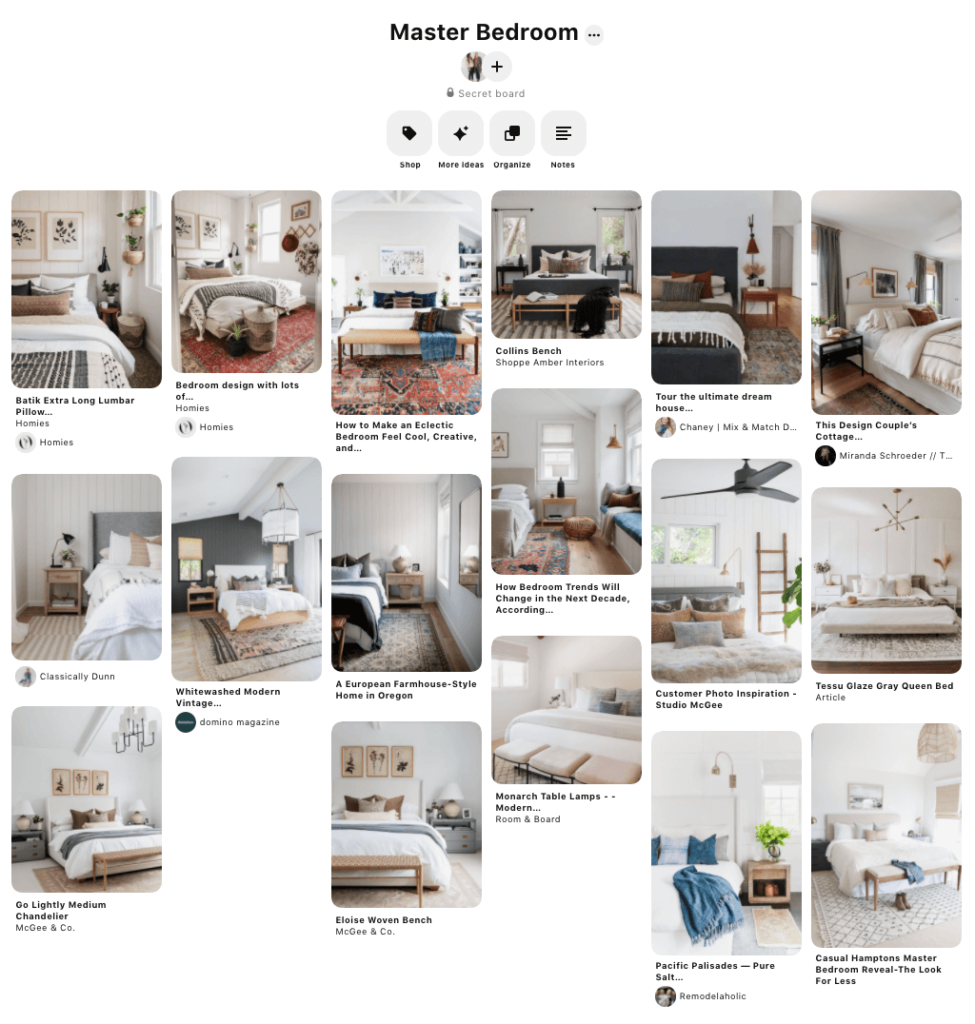
The tricking part about Pinterest is finding the perfect search terms to find the inspiration you need. Here I used ‘Modern Farmhouse Master Bedroom’, ‘California Cool Bedroom’, and ‘Boho Farmhouse Bedroom.’ Honestly, it took me a while to find that inspiration, but the great thing is once you find it Pinterest is able to show you lookalike pins and from there you find a lot of really amazing designs.
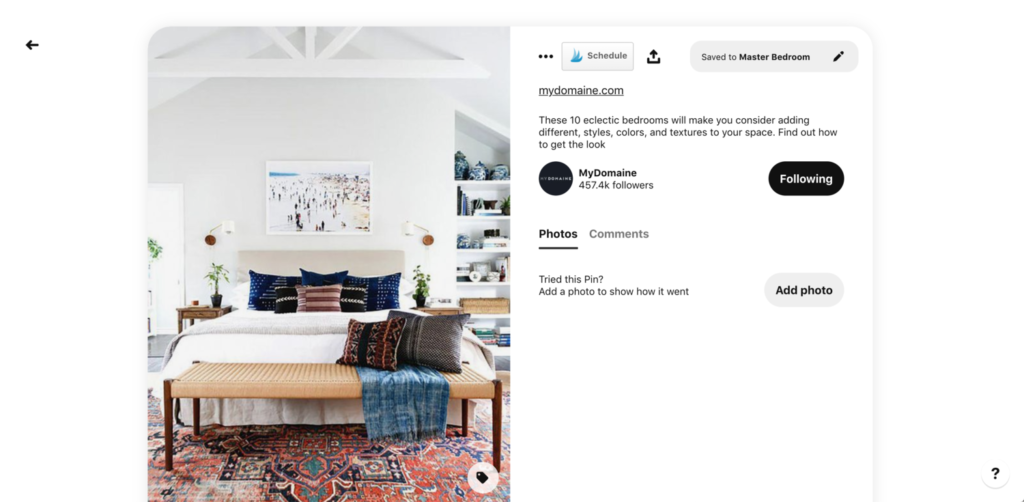
PINTEREST PRO TIP: Once you find that inspiration photo that makes your heart skip a beat click on it to enlarge the pin. Once the pin is enlarged you can scroll down and Pinterest will populate a feed just based on that photo. This is always how I find the best examples for projects.
Give yourself a few days to pin. I like to gather inspiration for about a week. During this time I also make an Instagram Folder to Save to. I was so excited when they added this feature because there is so much great home inspiration on Instagram that is not shared on Pinterest. Sometimes I’ll use hashtags to find inspiration, but most of the time I find something that stops my scroll and I save it.
I also like to look at books and magazines. I know this is old school, but there’s something about sitting down with a cup of coffee or glass of wine and flipping through a design book. My favorite design book right now is ‘Made for Living’ by Amber Interiors. Books like that are great for decorating with so you kill two birds with one stone there.
2. PUT TOGETHER YOUR DESIGN BOARD
This is a step that people often skip. Your design board doesn’t have to be perfect, but having it all together will give you the confidence to complete your project and create a room you love. I have used Photoshop in the past, but I’ve found Canva to be the easiest choice out there right now. If Canva intimidates you, my mom uses a collage app on her phone and it works great too. This is just for you to make a game plan and revise so it doesn’t have to be the fanciest thing.
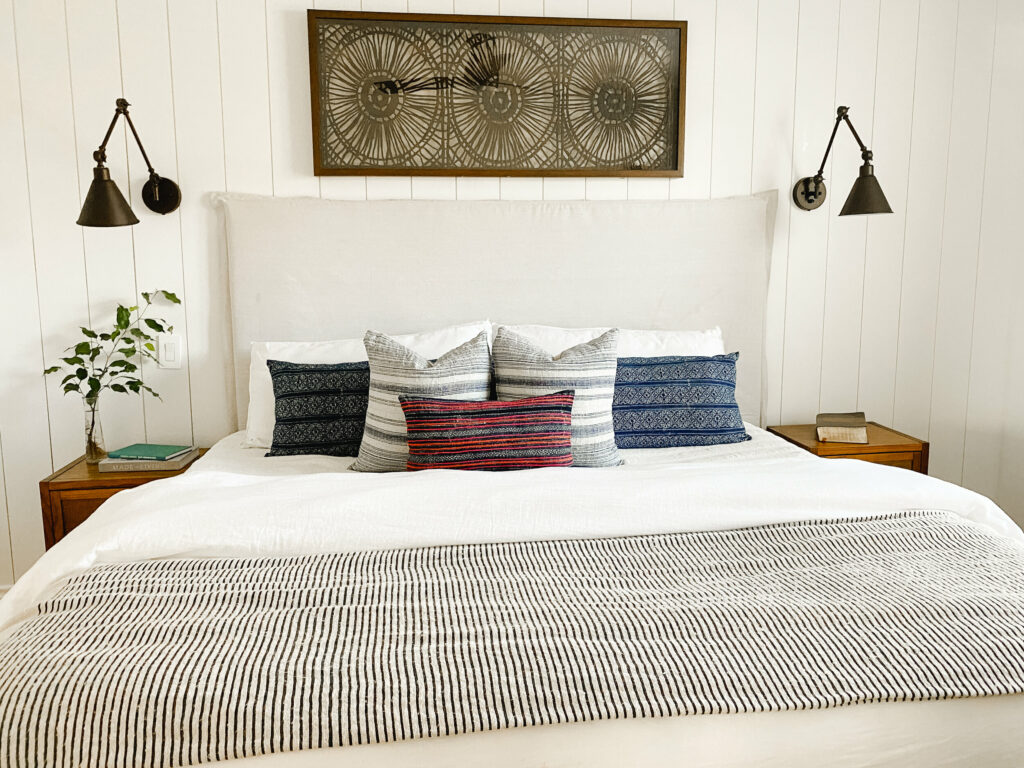
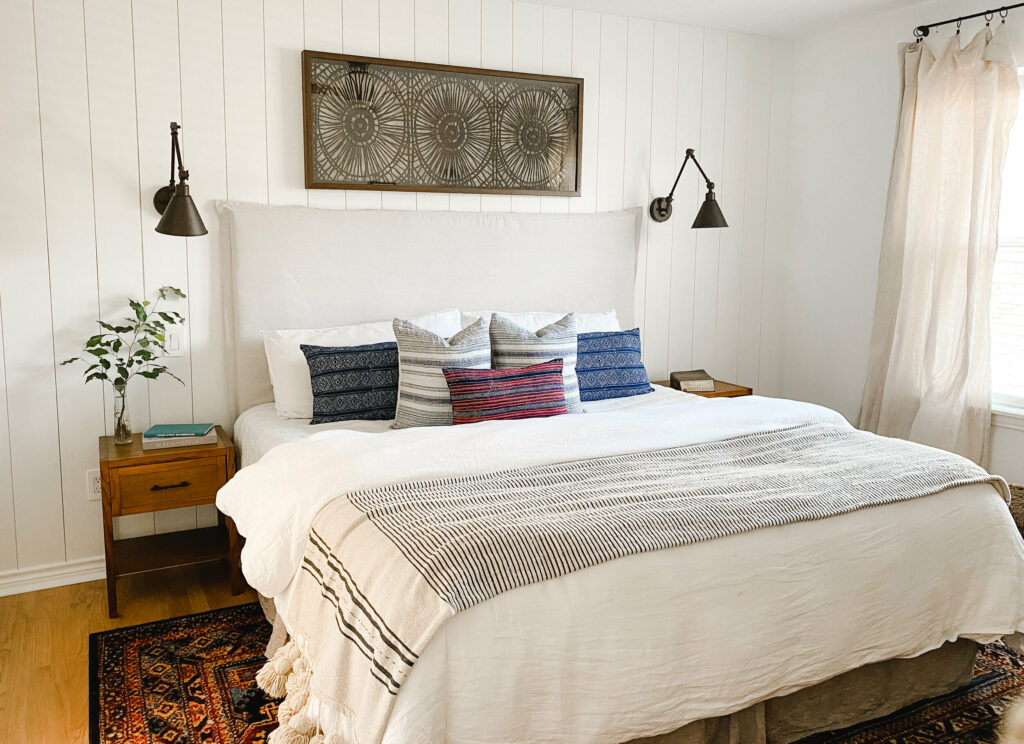
As I was gathering inspiration, I found a common thread—Vertical Shiplap! I had multiple rooms with that accent so that was what I started with on my board. I have a tutorial on how to install your own Vertical Shiplap for this room if you’re interested here. Once I had that down I started looking for other common themes and things that really caught my eye. I found that I had a lot of white, but with pops of color—blues and reds specifically. This surprised me because I’m typically an all neutral girl. This is why design boards are so important. If I would have put it all together I probably would have had the confidence to pull the trigger with the bold colors. Other elements I liked were a pom blanket, a bold rug, and midcentury modern furniture.
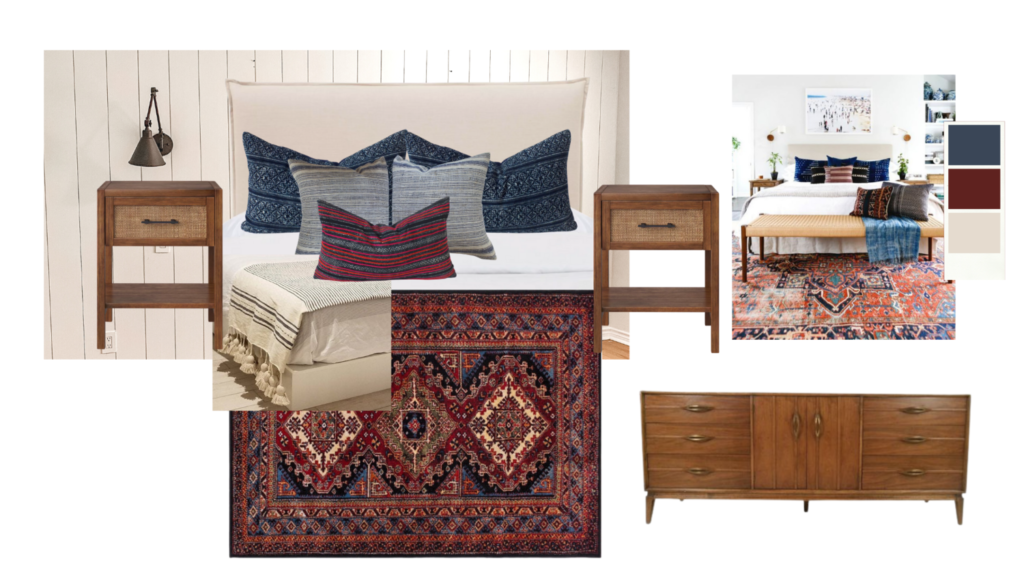
The best method is to layer items on the board. Once you see it all together you can pull away what’s not working and add new. The revision stage normally takes me a couple of days. I like to take my time to make the process enjoyable. Home shouldn’t stress you out, but be a creative outlet and a place to relax.
3. MAKE YOUR BUDGET
This is where the Type A people thrive. That is not me, but this is so necessary to actually complete the project. I like to reverse engineer my budget. Rather than saying, “I can’t afford that” or “That’s just too expensive”, I put it all on paper. I had a champagne taste so sometimes I’ll look at my total and I’ll be shocked. Pillows, bedding, artwork, wallpaper, accessories, home items, in general, can get expensive. This is where you get creative! The best design advice my mom ever told me was that I was lucky to have a tight budget because it gives me an opportunity to stretch my creativity and take my time. So if you’re feeling down about your budget remember that 😉
Once I had everything on paper I found ways to save. I had seen a couple of slipcovered headboards or headboards with linen fabric and that french seam look. I loved that it looked so cozy and effortless, but all the ones I was finding were well over $1000. The one I loved the most was $5400 which I wasn’t willing to invest since it’s a little trendy and maybe not a look that will stand the test of time. Instead, I DIYed the headboard and covered it with drop cloths. It cost me $85 with the materials. Another way I saved was DIYing the shiplap. I typically would have paid someone to do something like that, but I wanted to use the budget I have to go towards accessories instead. The last ways I saved money was thrifting and shopping estate sales. I got my dresser from an estate sale for $50 and our accent chair off Facebook Market place for $100. They both add character and didn’t hurt the budget.
When budgeting it’s best to prioritize things that make the most impact. If there’s a piece of furniture that will be the show stopper in a room then spend your budget there and save in other areas. There’s a time that it’s definitely worth spending more and other places that are worth saving.
SHOPPING PRO TIP: Making your budget can be challenging because so much of it is finding the right pieces to fill your space. If you’re having trouble finding the perfect home accents check out LiketoKnowIt. I love that people can share the products they use to make a room complete. It gives the influencer a small commission but doesn’t cost you any extra money. Most of your favorite home Instagrammers have accounts. You can check out the Farmhouse Living LiketoKnowIt here.
4. MAKE YOUR TIMELINE
After the budget is wrapped up, it’s time to set a timeline. I like to think about things I have going on. For example, my goal with my guest room was to finish before my inlaws came to visit for my daughter’s birthday. If the project is more expensive and there aren’t a lot of ways to save, maybe you take the year to complete it or save. Taking your time is great because you can find items like I did estate sale-ing or deeply discounted during events like Black Friday. If it’s something more affordable you might want to take a weekend to complete it. There’s something about a deadline and seeing the room complete that is so gratifying.
5. DECORATE & ENJOY
The fun thing about this process is that once you complete a room you catch a bug and you just keep going through your home. I do recommend focusing on one room at a time. It’s easy to start chasing squirrels during home projects and never actually complete an entire room. I’ve been there and it doesn’t allow you to enjoy your home as much you could.
SHOP THE LOOK

So here is my completed master bedroom. I’m such I’ll continue to build on it and change things over time. That’s just the process of home for me. I still can’t believe this was my garage. It blows me away how much can change in a home with a little determination.
I hope these tips are helpful and allow you to finish the lingering projects you have in your home. What room is next for you? Do you have any other helpful tips for finishing a room? I’d love to know in the comments.