Hand Painted Accent Wall (Faux Wallpaper) – Laundry Room Makeover
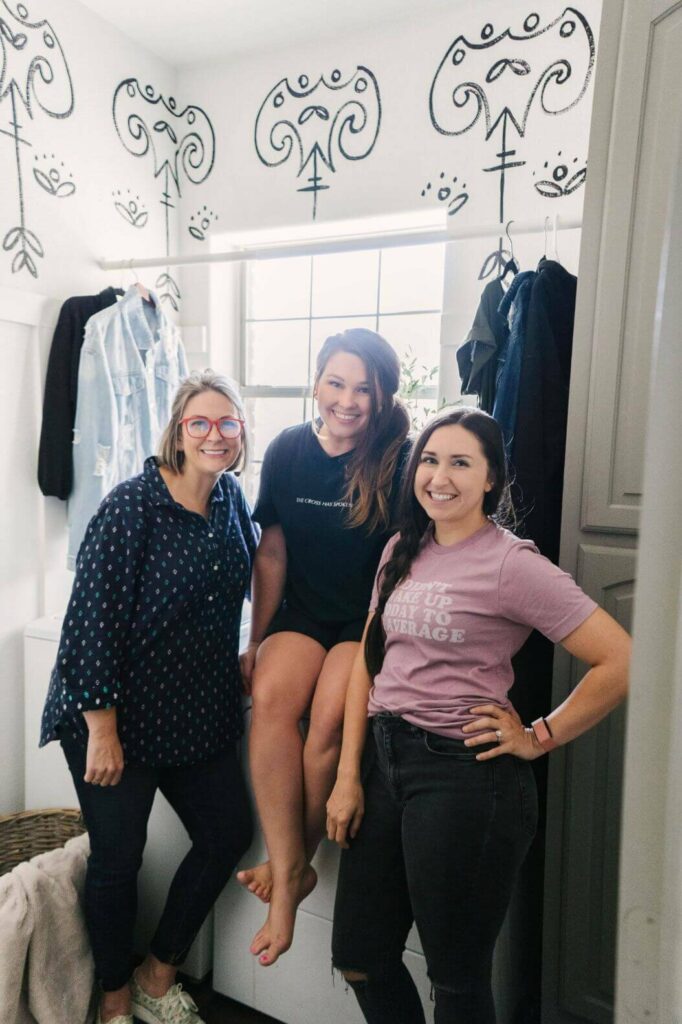
Today we’re excited to share another DIY with you that we’ll call faux wallpaper. Last week we toured our friend Joanna’s home and called her style Artsy Farmhouse. We loved her statement walls so much in her dining room and her master bedroom that we asked Joanna to come over and help us add a statement in my friend Mattie’s laundry room.
We were inspired by Mary-Catheryn of Copper Corners. It’s funny because she calls the design that inspired us is called Laundry which is exactly where we intended to use the look. Mary-Catheryn is an AMAZING artist and if you haven’t checked out her work make sure to head to her site. She has some really playful designs that add tones of personality to a home.
You can see in our design we changed a few things to make it unique to space. This tutorial can be used with any pattern design and I’ve shared examples other designs below.
Before you get scared off by the idea of painting your own walls I want to tell you that the imperfections are what make this design detail so amazing. It’s fun having something special in our home that you can’t buy in a store.
WHY WE LOVE THIS DIY
There are a couple of different reasons you might want to do this over wallpaper:
- It’s so cost-effective. Wallpaper can be very expensive. Although wallpaper has been something I’ve been very happy I’ve invested in, it’s not always in the budget. I like to invest in the main areas first then fine cheap and cost-effective ways to spruce up other spaces like the guest room, laundry room, etc until it’s in the budget. A hand-painted statement wall or faux wallpaper costs about $15 where wallpaper could be $100’s even $1000’s if you get it professionally installed.
- It’s easy to remove. Sometimes when you make a bold statement it can get old. Wallpaper isn’t always the easiest to remove, but painted over your design is pretty easy and cheap.
- This project was really quick. It took around an hour to complete the laundry room. I love a project that completely transforms a space in an hour.

SUPPLIES
Here’s what you’ll need for this project.
- Pencil
- Eraser
- Acrylic Paint
- Paint Brush
- Ruler/Yard Stick
- Idea for a Design
Like we said above this is a very cost effective project. You might even have all the supplies on hand already. All I would have to buy is Craft Paint that you can use your Hobby Lobby coupon to grab for a steal of a deal.
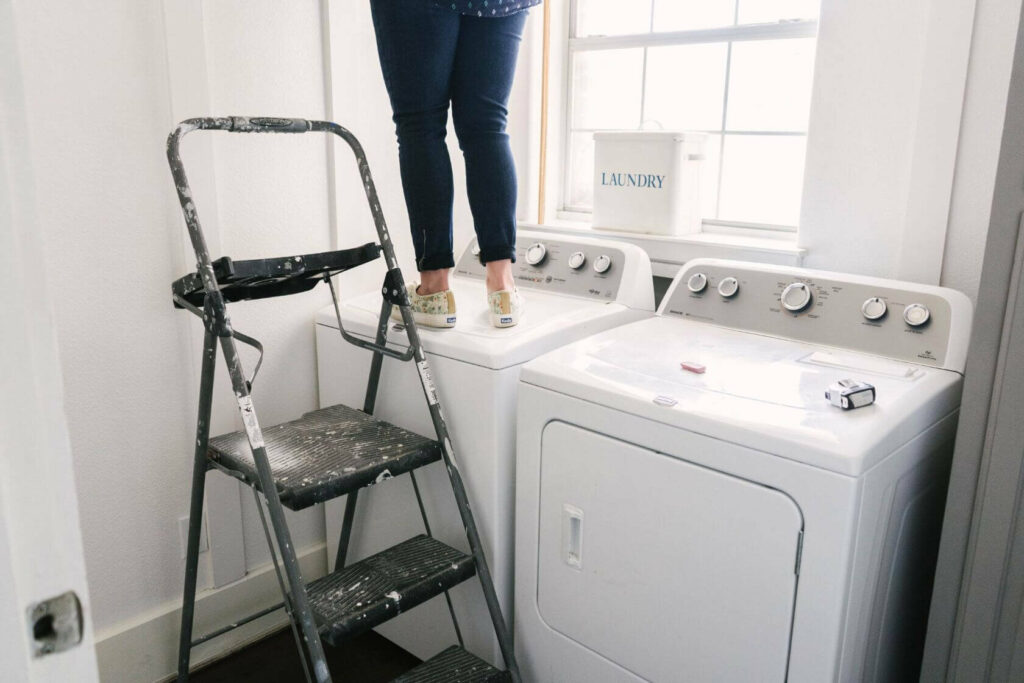
STEP 1: FIND YOUR FOCAL POINT
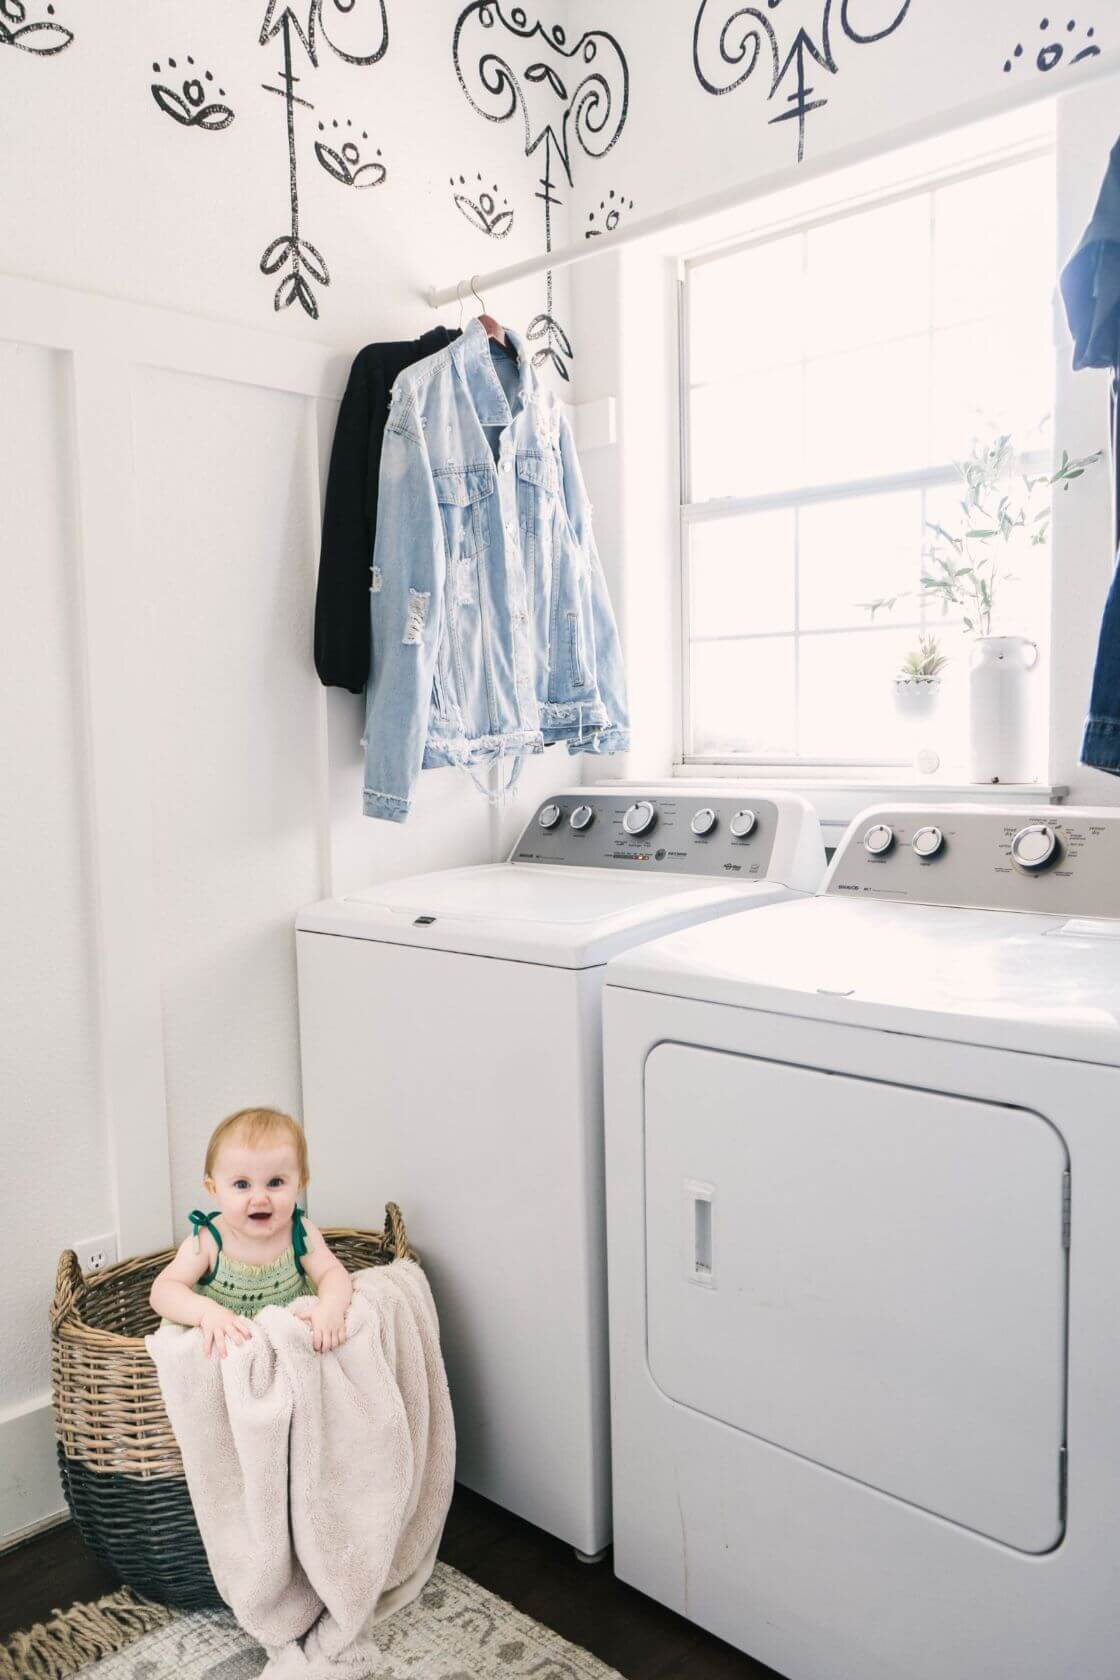
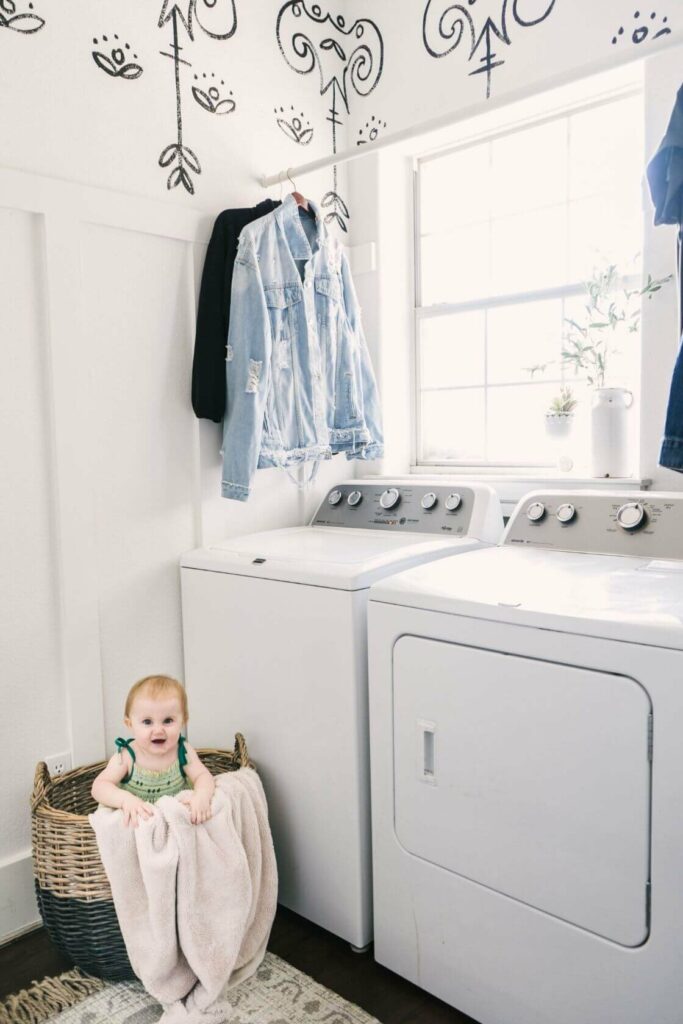
In Mattie’s laundry room your eye is drawn to the window so when planning the design we started directly over the window. Since Mattie had wainscotting we only had to plan one row of designs which made simple planning. When the design natural falls in a corner it looks more like wallpaper would flow. If you’re doing an entire room like we are this is something to think about when planning. If you’re doing a single wall you won’t have to worry about this. While we were painting Joanna noted that she thinks one single wall is probably the easiest to take on.
STEP 2: PENCIL IN YOUR DESIGN
At the focal point pencil in your first design. It doesn’t have to be perfect, but your first drawing should be the most accurate of what you’re going for. This will help with measuring out for the repeating pattern.
STEP 3: MEASURE OUT AND SPACE OUT EVENLY
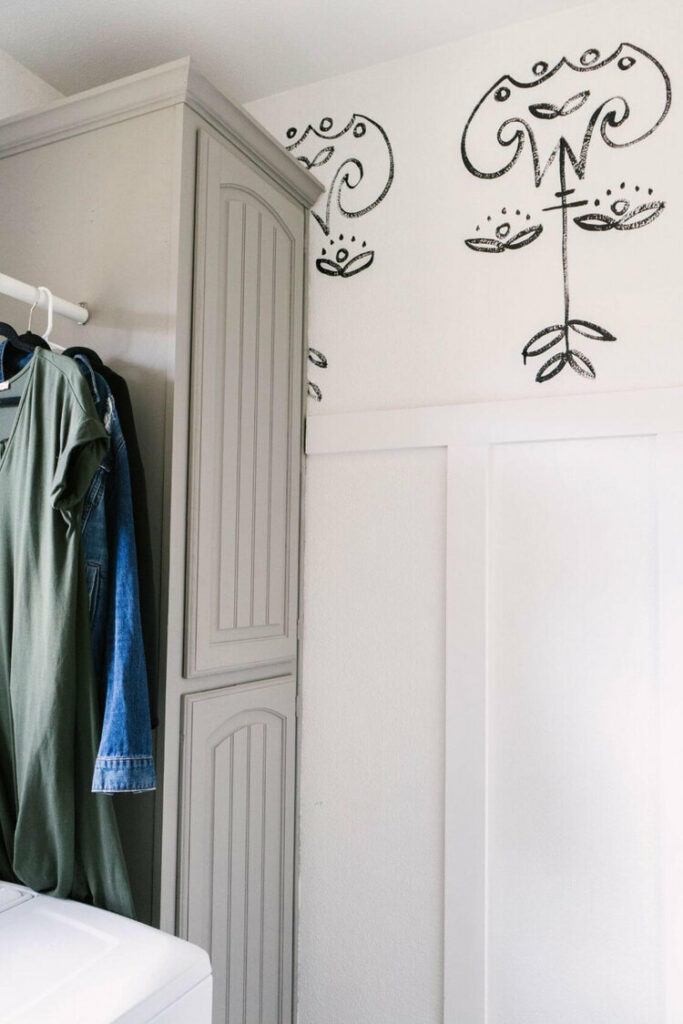
Joanna used her ruler to measure the width of her first design and this sets the width for the next. She marked the width and freehanded the remaining pieces of the design. So every design is the same width with a little variation with the other details.
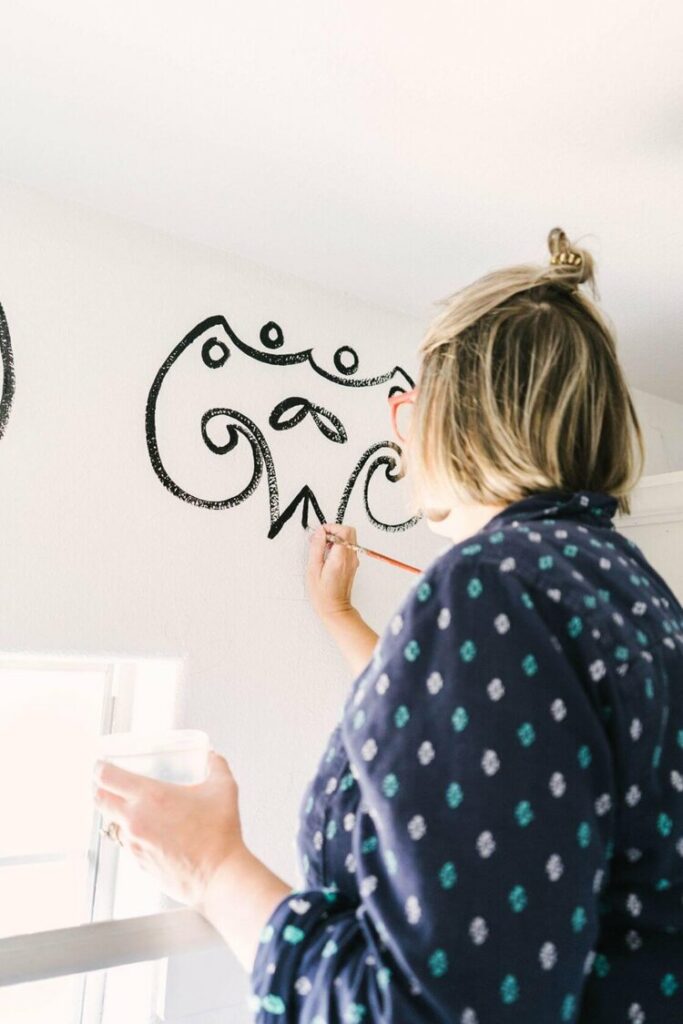
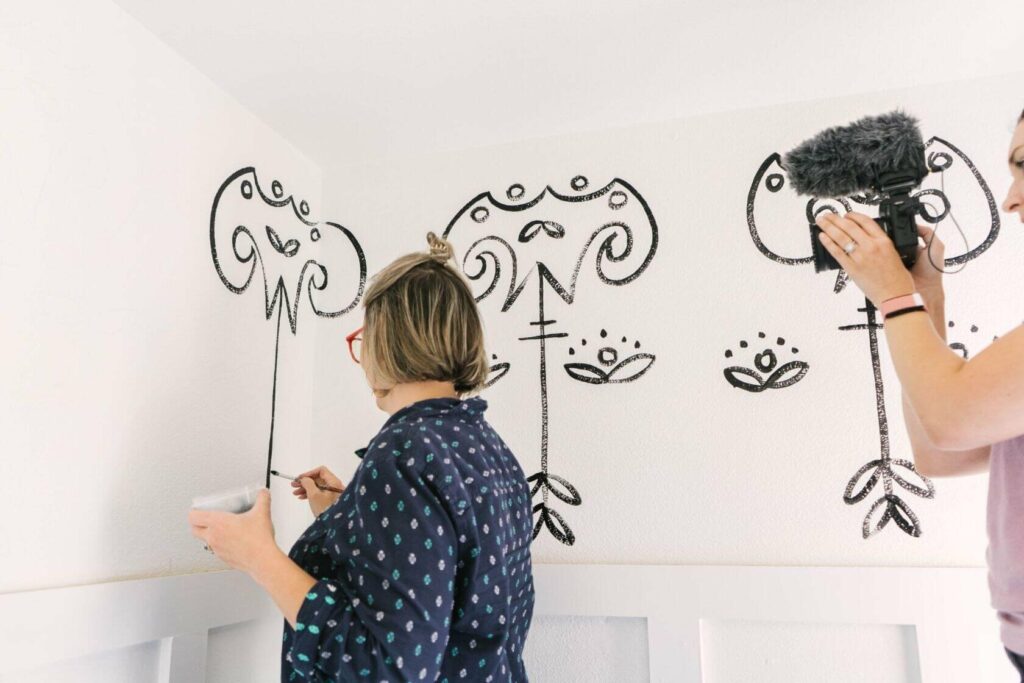
STEP 4: PAINT
Now all you have to do it go over your pencil lines with paint. You don’t have to re-dip your brush for each stroke. It looks best when the paint on your brush starts to run out before you go back for more. It’s okay if your lines aren’t perfect – they look better that way anyway!
My best advice for getting started on this project is to worry less about it being perfect and to not get too hung up on the outcome. Enjoy the process and remember that it’s just paint!
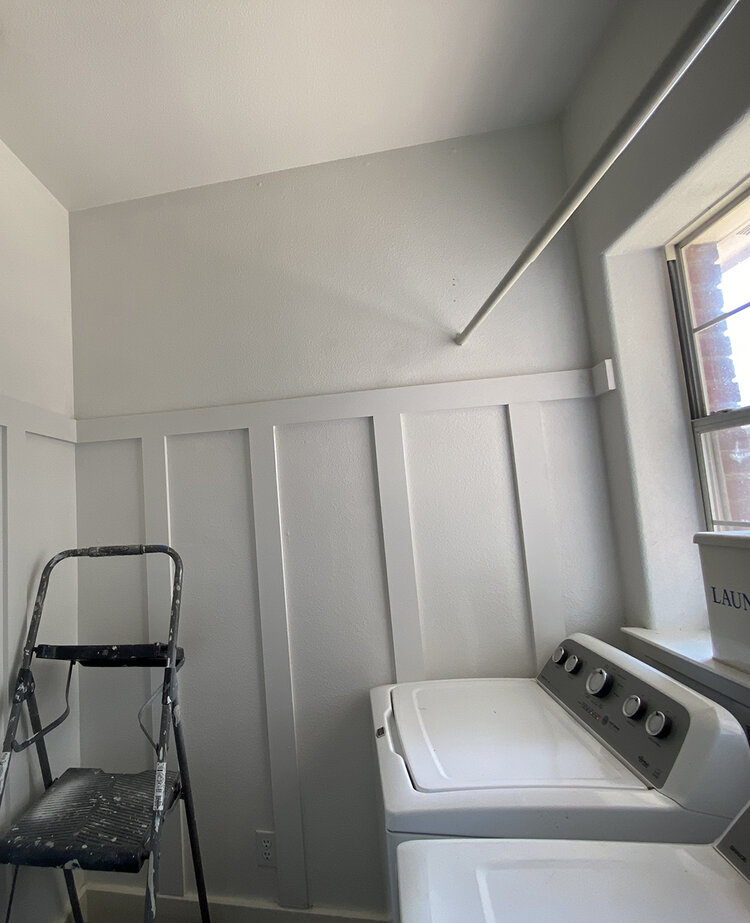
BEFORE
AFTER
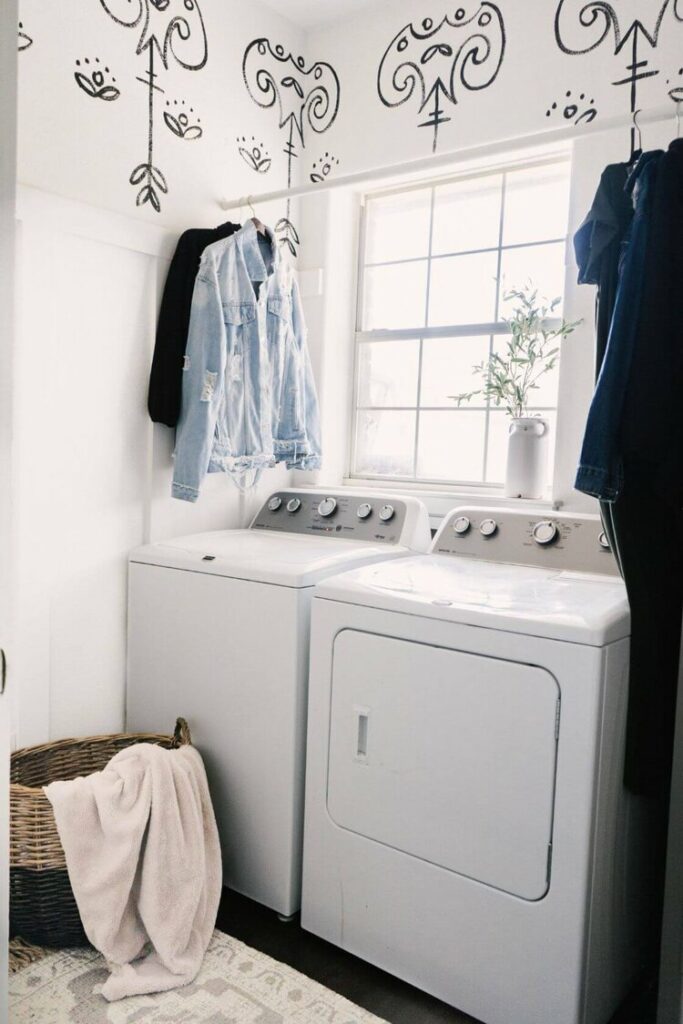
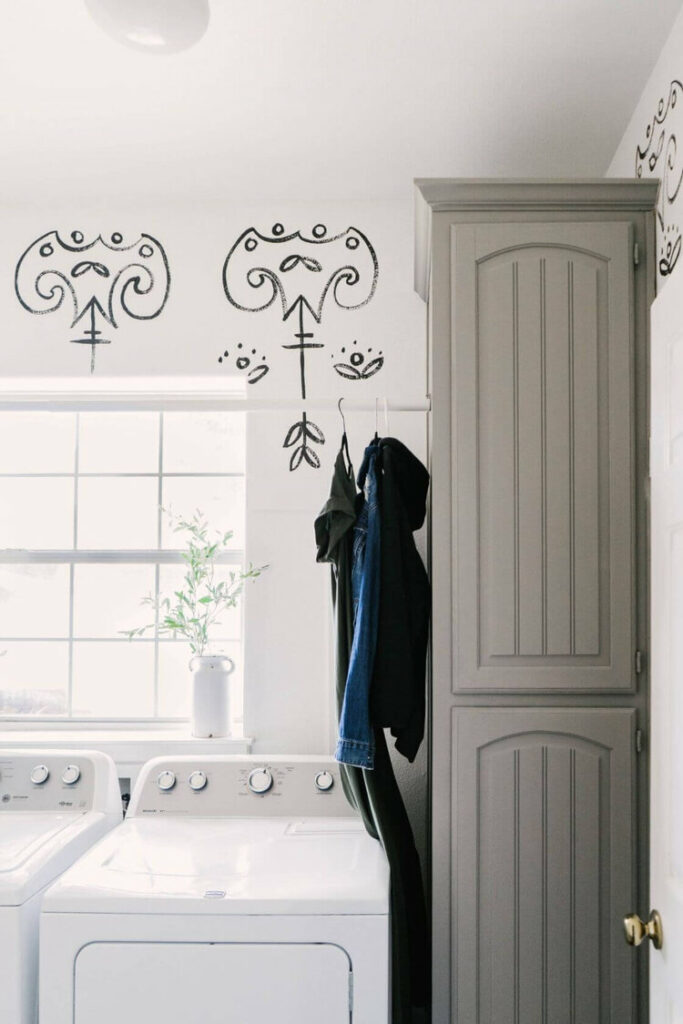
Here’s the before of Mattie’s laundry. She had recently spruced it up with wainscoting and by painting her cabinet Jolie’s Linen. These simple touches definitely spruced up the space, but laundry rooms are always a fun place to do something bold.
We hope this inspired you to make a bold statement in your home! If you need more inspiration make sure to tour Joanna’s home here. It’s definitely one of my favorites. We have more “faux wallpaper” inspiration that we’ve gathered online below. If you take on this DIY make sure to DM me the photo on Instagram. I love to see your projects completed.
MORE “FAUX WALLPAPER” INSPIRATION
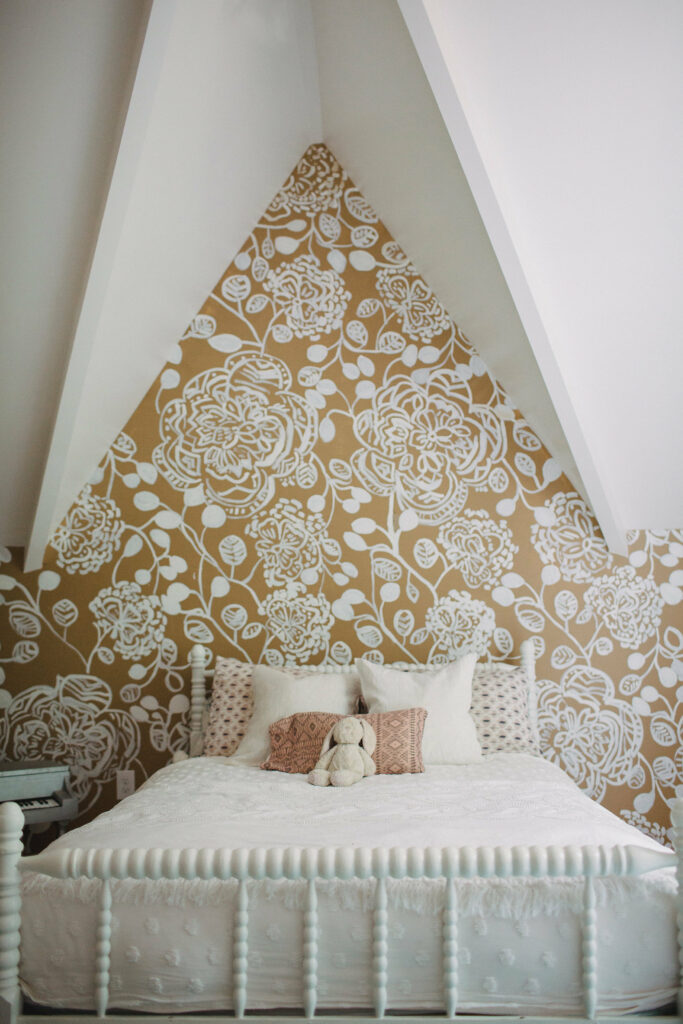
This Mississippi Home was featured on Design Sponge and the home owner painted this design on her daughters wall. She was inspired by a wallpaper she found at Anthropologie.
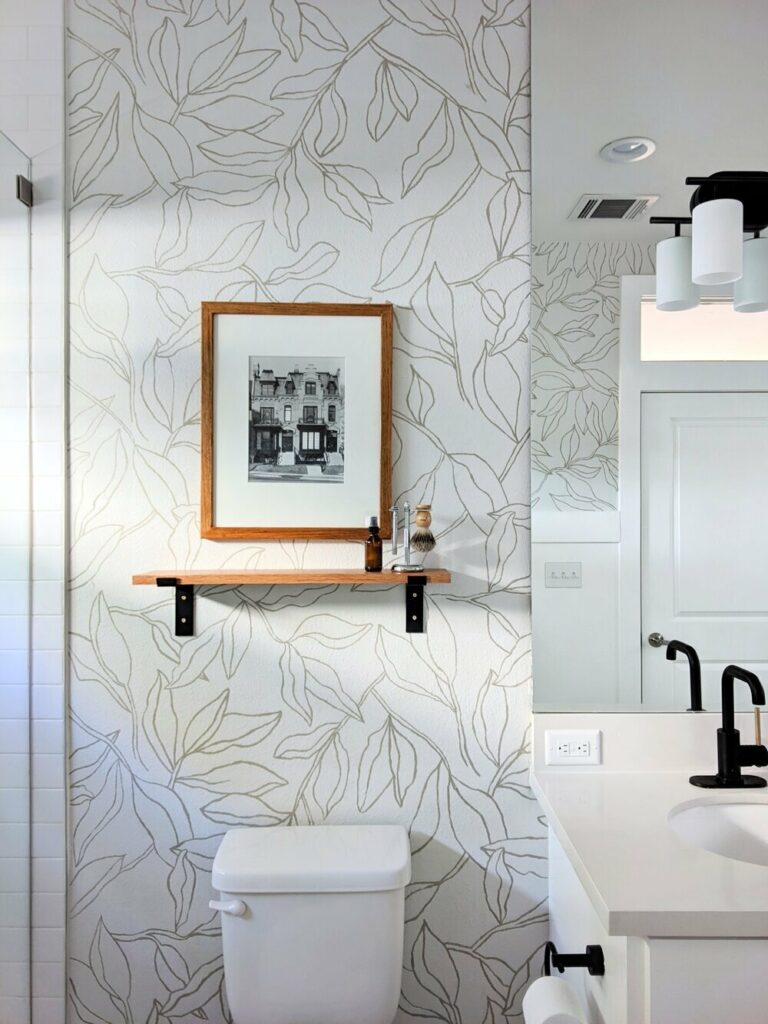
I could not believe the inspiration below was hand painted. Grace from Collected Eclectic shares how to create this pattern without a projector and even gives you the design as a download.
I was also surprised that the design below was hand made. Cassity of Remodelaholic used a sponge to create a stamp for her moon design on this nursery wall.