

DIY Painted Tile Floor with Stencil – Bathroom Makeover with Paint Only
This post is in partnership with Rust-Oleum.
The last project we shared was a bathroom transformation where we ripped out the tub, tile and changed plumbing fixtures. It was a full-blown remodel. I thought it would be fun to follow that project with a bathroom transformation that is just as impactful using only the POWER OF PAINT.
I want to kick off this with a big THANK YOU to our sponsaor of this video Rust-Oleum. We’re using two of their products to transform this space and I can’t wait to share the details for both of them.
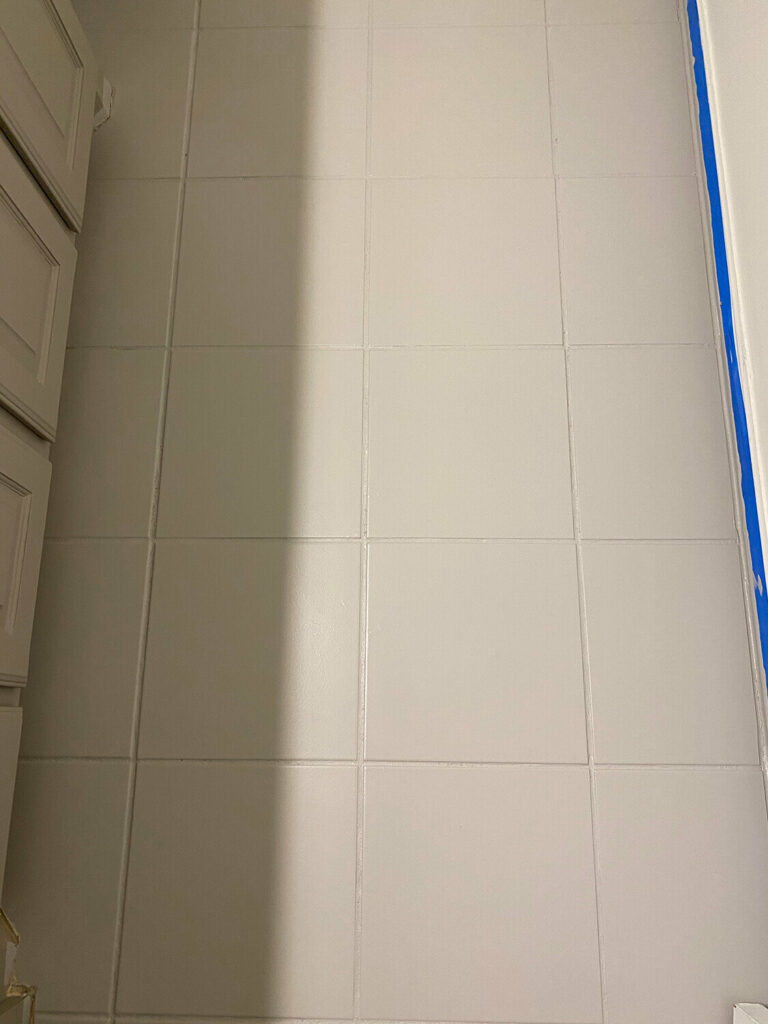
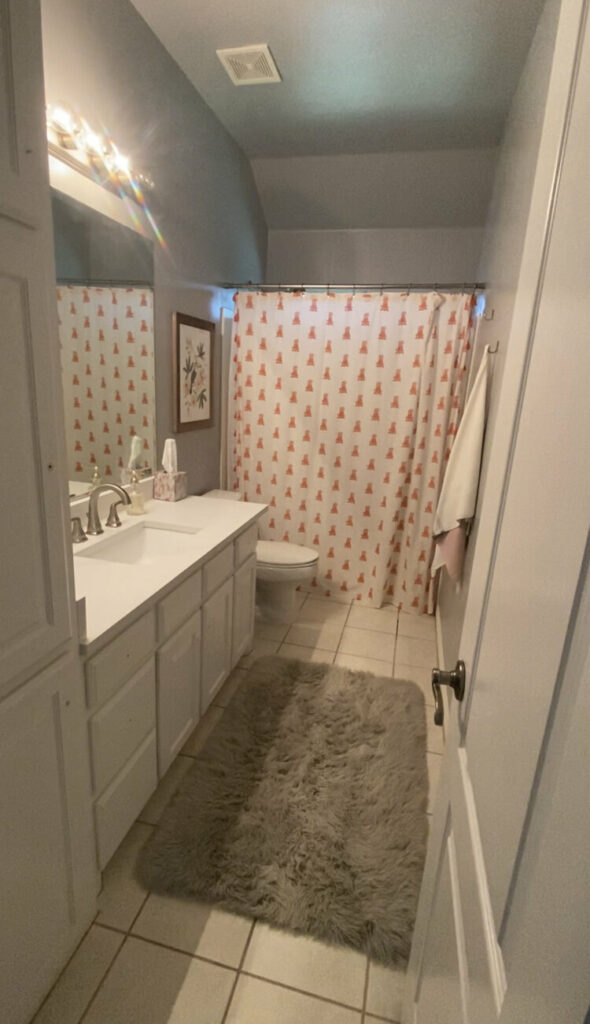
BEFORE
This bathroom is upstairs at mom’s house. It wasn’t horribly ugly but it is boring. It had no character. I would call the design in this room before as…GENERIC. We didn’t want this bathroom to be a huge investment because mom has lots of other projects higher on the priority list, but that doesn’t mean we didn’t want this bathroom to be amazing!
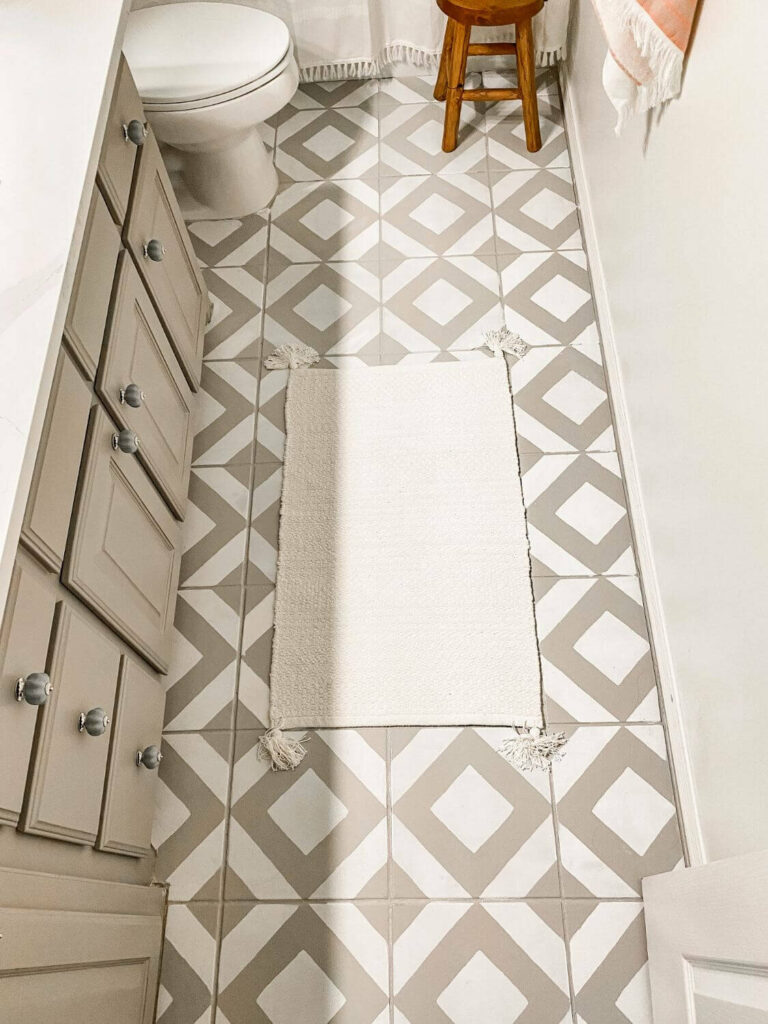
PROJECT PART 1: PAINTING TILE FLOORS WITH STENCIL
We decided the most impactful thing we could do on a small budget is paint the floors. The twist in this bathroom is we are going to use a STENCIL to level up the design!
We’re using Rust-Oleum’s Home Floor Coating kit to do this. We used this paint in the other bathroom upstairs and it’s been a very popular project on the blog. Over the past two years it’s held up so well without scratches and chips.
STEP 1: CLEAN THE FLOORS
Before painting, I cleaned the floors with Krud Kutter. I believe this is one reason our paint in the other bathroom has held up so well. Prep really does make a world of a difference in a project. Once the floors were clean I taped off where I wanted to protect from paint.
STEP 2: PAINT COAT ONE
I used two base coat colors to create this look. The first coat is a warm gray (Seattle Mist). This is the easiest part of the project. My mom is not a fan of DIY at all and even she can attest to how easy this is. If you stop here you can still completely transform a bathroom! Once this coat was down I let it dry until the next day before doing the next step.
STEP 3: PAINT NEXT COAT WITH STENCIL
The stencil was definitely the more challenging piece of this project but it’s not the hardest thing I’ve ever done. It just takes patience!
I think one important factor to this project is choosing the correct stencil. I chose a pattern that’s very forgiving. It’s supposed to look handpainted and looks like one of those concrete tiles that can cost a pretty penny. I’ll link to the stencil I used here.
STENCIL OPTIONS
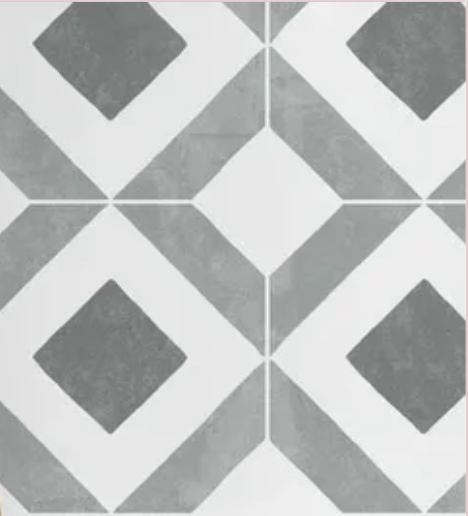
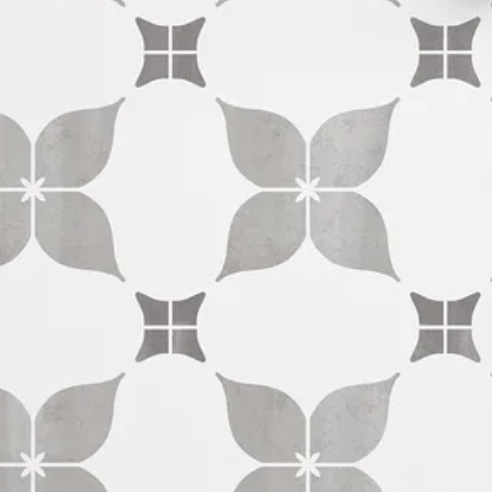
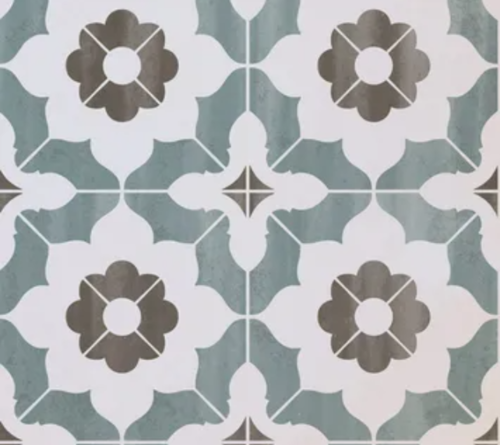

Notice the stencils above are pretty simple. Very busy stencils can draw your eye to the imperfections rather than blending in with the overall pattern. There were stencils that I really loved that I chose not to use simply because I could see them being very overwhelming and more challenging than the one I chose.
I used the color white with the stencil. The secret here is very lightly coating your roller with paint. Very thin coats of paint makes sure there’s no bleed-through on the stencil and keeps your lines clean and crisp.
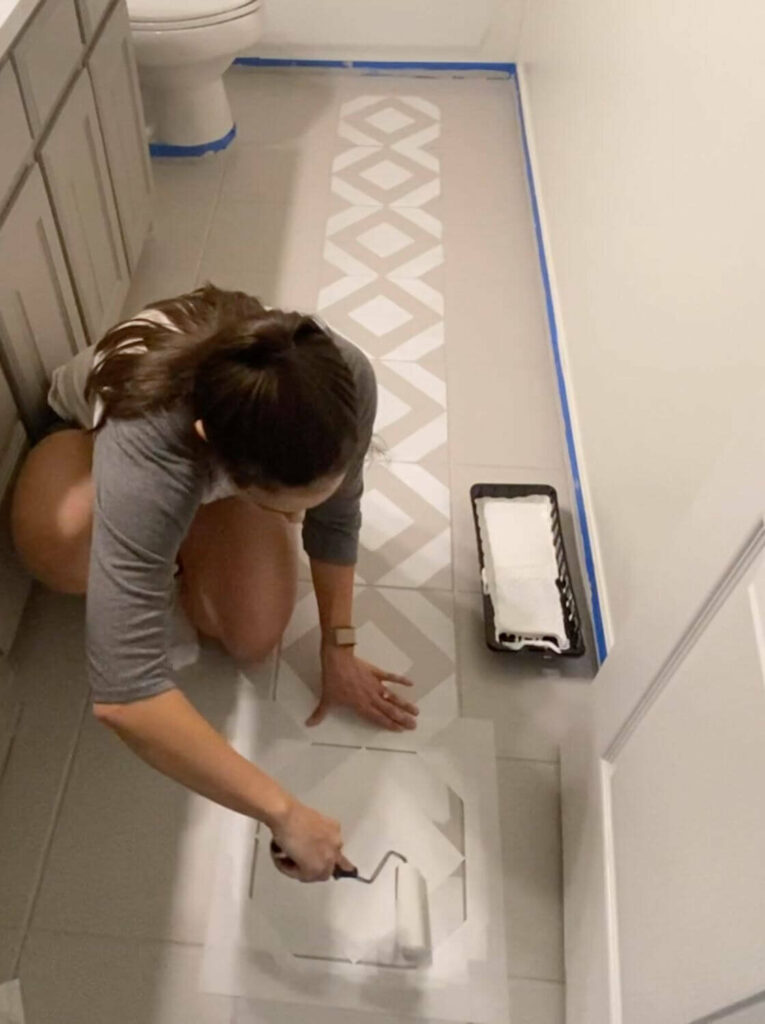
I staggered application on the tiles, painting every other tile. Once those were dry I started to fill in. The paint drys super fast. This was really easy until I had to start cutting the stencil to apply in areas closest to the wall and areas around the toilet. This is why it’s important to purchase a couple of stencils so that you can cut them down as you need to. I purchased three for this project and that worked out great.

I first cut down a stencil to do the tiles closest to the wall and then cut that same stencil down to paint the pieces closest to the vanity and the tub. So I wasn’t having to use a new stencil for every single tile that is a tight space.
The area around the toilet was the most challenging but I just took my time. It’s not perfect but I don’t know that anyone is going to be glaring around the toilet when they enter the room. I used tape to continue the pattern on the super small tiles behind the toilet rather than cutting the stencil really small.
At this point, I was pretty proud of how this had turned out! I let the paint dry for another full day and then put the topcoat on. This is what makes this floor paint so super durable. I chose a semigloss here but they also have a matte schene. I don’t think you can go wrong with either option. Overall I highly recommend trying this project with a stencil. If you don’t think you have the patience one solid color still makes a huge impact!
The most common question I get with this project is if you can clean the floors. We clean the floors in the other bathroom normally. The only thing is we don’t use abrasive cleaners.
PROJECT PART 2: PAINTING THE VANITY
Now on to the last update in this project—Painting the cabinets. Rust-Oleum also makes a Cabinet Transformation Kit. I love that it’s a full kit with everything you need. DIYing can get overwhelming and to have it all ready in a box is awesome. All you need to do is have the kit tented when you pick it up at the store.
With this paint, there is no sanding involved in prep. You start with the de-glosser that comes in the kit. I used the scrub pad and applied it to the entire cabinet. I then wiped it down with a wet rag to make sure there was no de-glosser on the cabinet before I began painting.
Now to step two. We chose a Griege color! The paint when on so smooth. The paint is thin enough to get into the crevises of the cabinet but wasn’t too thin. I let it dry and then applied a second coat. The second coat was really where the magic happened. it looked so clean and the brush strokes were minimal. This vanity is pretty big and has a full linen cabinet that goes to the ceiling. I didn’t even use half a container of paint! This stuff goes a long way!
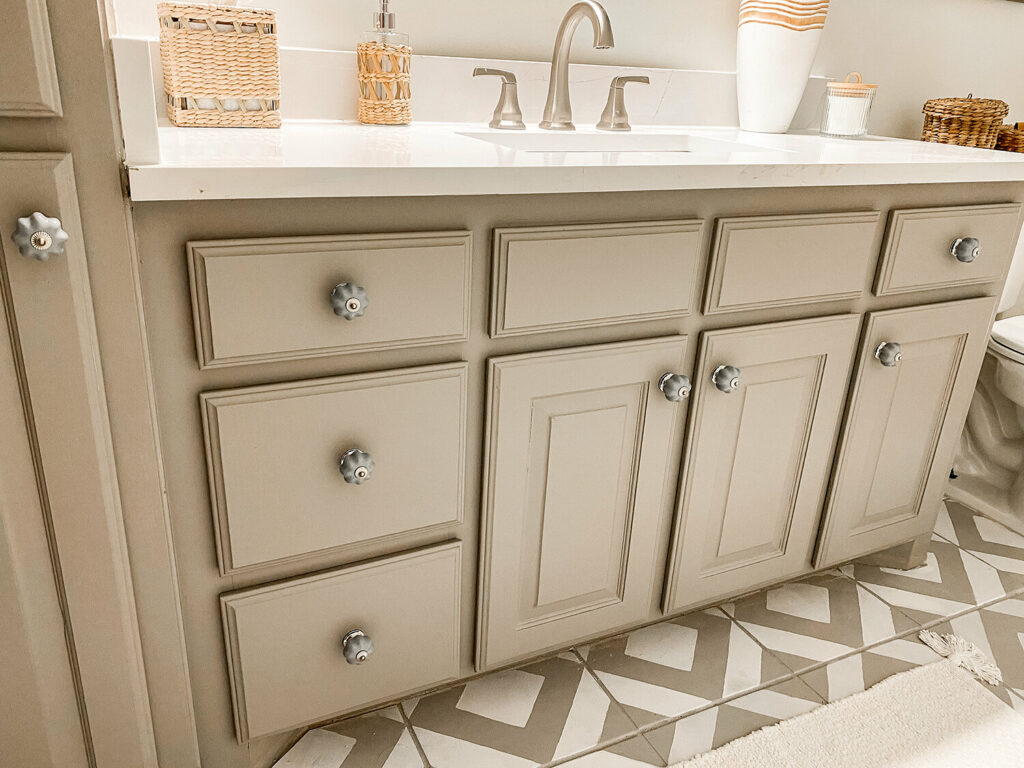
I waited until the next day and applied the protective topcoat. Overall this kit made transforming the cabinets easy and I loved the color options.
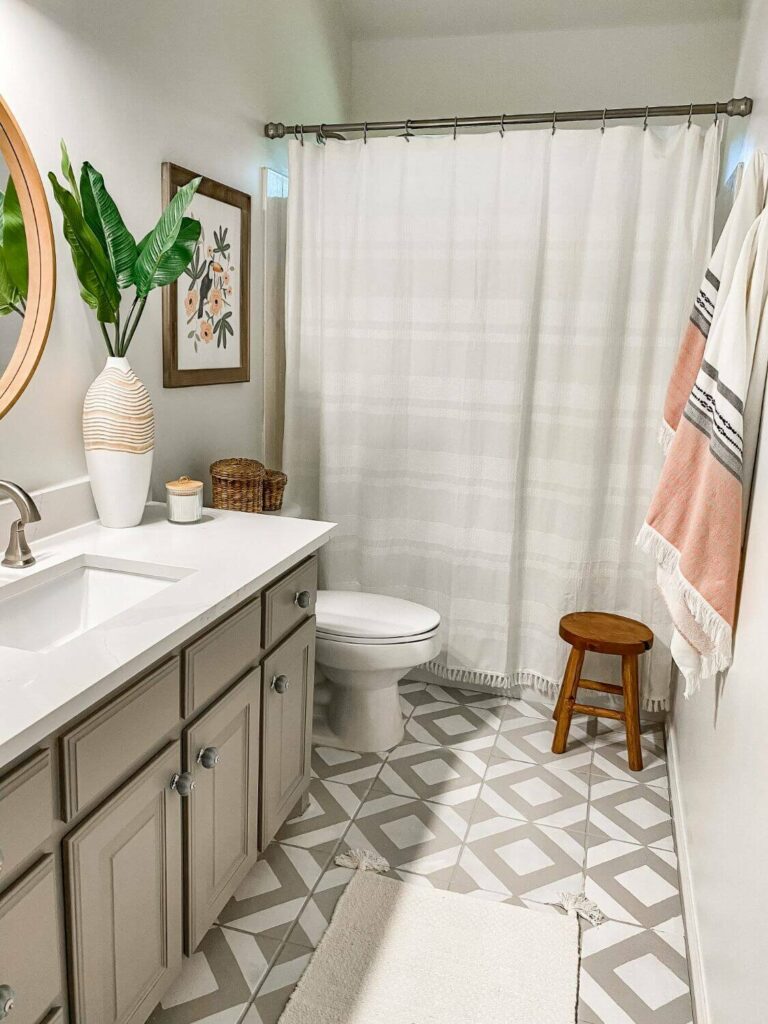
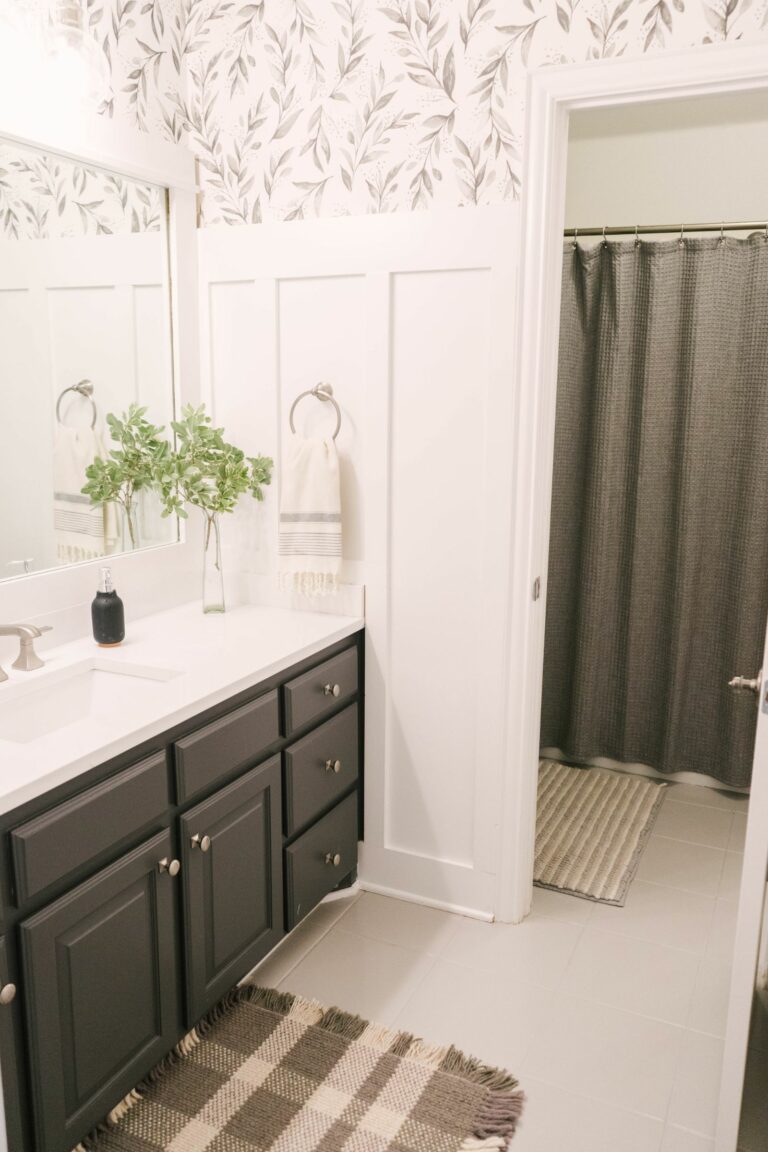
FINAL RESULTS
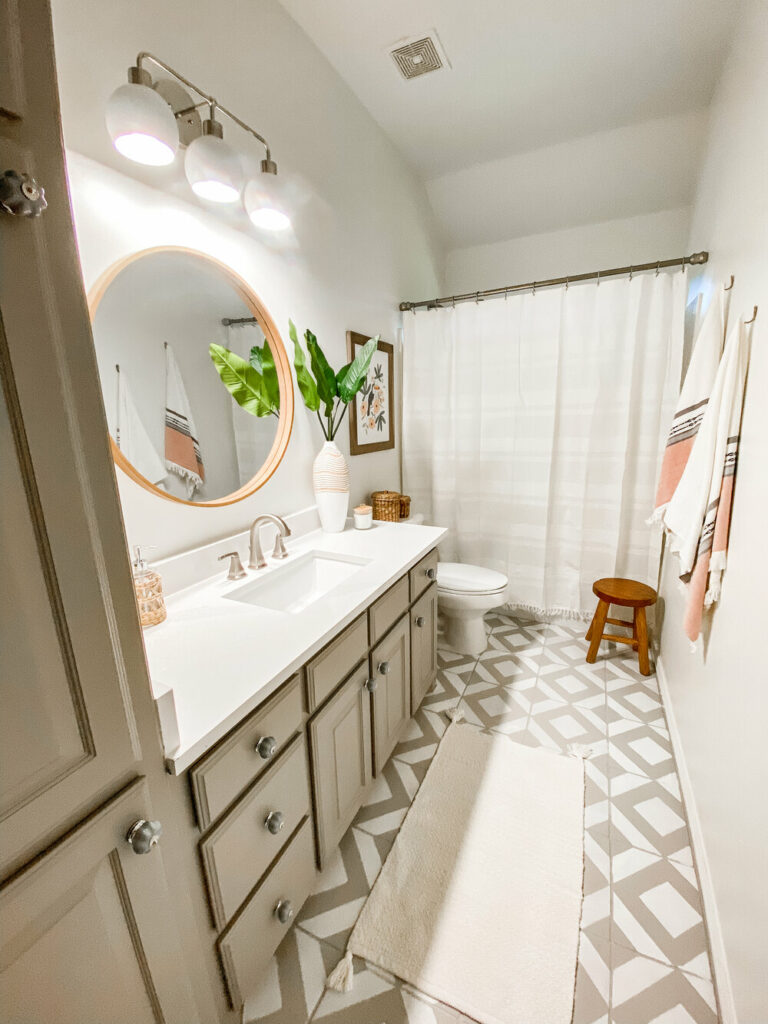
We finished off the bathroom with a couple of accents. Updated the shower curtain, the mirror and added a small rug. I also swapped out the vanity light which I’m pretty proud of. I’ve never done that before, but it was easier than I thought it’d be.
I love the boho playful feel that the bathroom has. It’s perfect because it’s next to Quinn’s “big girl room” that has the same feel. If you ever feel stuck in design just grab some paint and that always does the trick.
I hope this project inspires you to transform your home with the POWER OF PAINT. No matter the size budget paint really does work wonders. Thanks again to Rust-Oleum for partnering with us on this project. We’ve been a huge fan of your products for years and look forward to many more projects!
What do you think about painted tile? Do you have any questions on the project or have you taken it on? I’d love to know in the comments below.
PIN FOR LATER

WOW – that is seriously impressive. amazing job. Absolutely beautiful!
This is an amazing transformation!! It’s gorgeous! I have been wanting to replace my tile…but now that I see I can paint it, I have to give this a try!!
Did you have to wipe off the paint from the bottom of the stencil before laying it on the next tile?
Hey! So I ordered 3 stencils and I just alternated and one of them was dry by the time I was applying the next tile. The paint never got too thick on the stencil with the size of the bathroom we have. I hope that makes sense 😊
How did you do the tile around the toilet area? Did you have to cut the stencils?
This is a beautiful weekend project! Did you remove the cabinet doors and drawers??
This makeover looks amazing! Great job! Did you just paint right over the grouting as well as the tile? My bathroom needs an update and this is the perfect idea for us to keep it within budget. 👍🏽
Please share the stencil you used and where you purchased.
What roller and brushes did you use?
Great job, love the final look!!!
Thank you so much Geri!
This looks AMAZING! We painted a bathroom floor white years ago with a TubNTile paint. It looked bad and held up worse so we stripped it off and ended up living with the original yellow tile that clashed with the 1969 yellow sink and toilet! My question is: HOW did you get the mirror off the wall? I’m assuming it is glued onto the wall like mine is.
Thank you! Bummer about your experience painting tile! They had such fun tile colors in the 60’s didn’t that?! 😋 lol So the mirror was glued on the wall, unfortunately. We had a painter come to do some work in other parts of the house and he helped me remove it. It broke in the process. I wish I had more helpful tips but my experience on that wasn’t the best with that piece of the project. I actually ended up framing the mirror in another bathroom because I figured it’d be easier lol You can see the project here – https://www.farmhouseliving.com/blog/frame-your-bathroom-mirror
Thanks for commenting!!